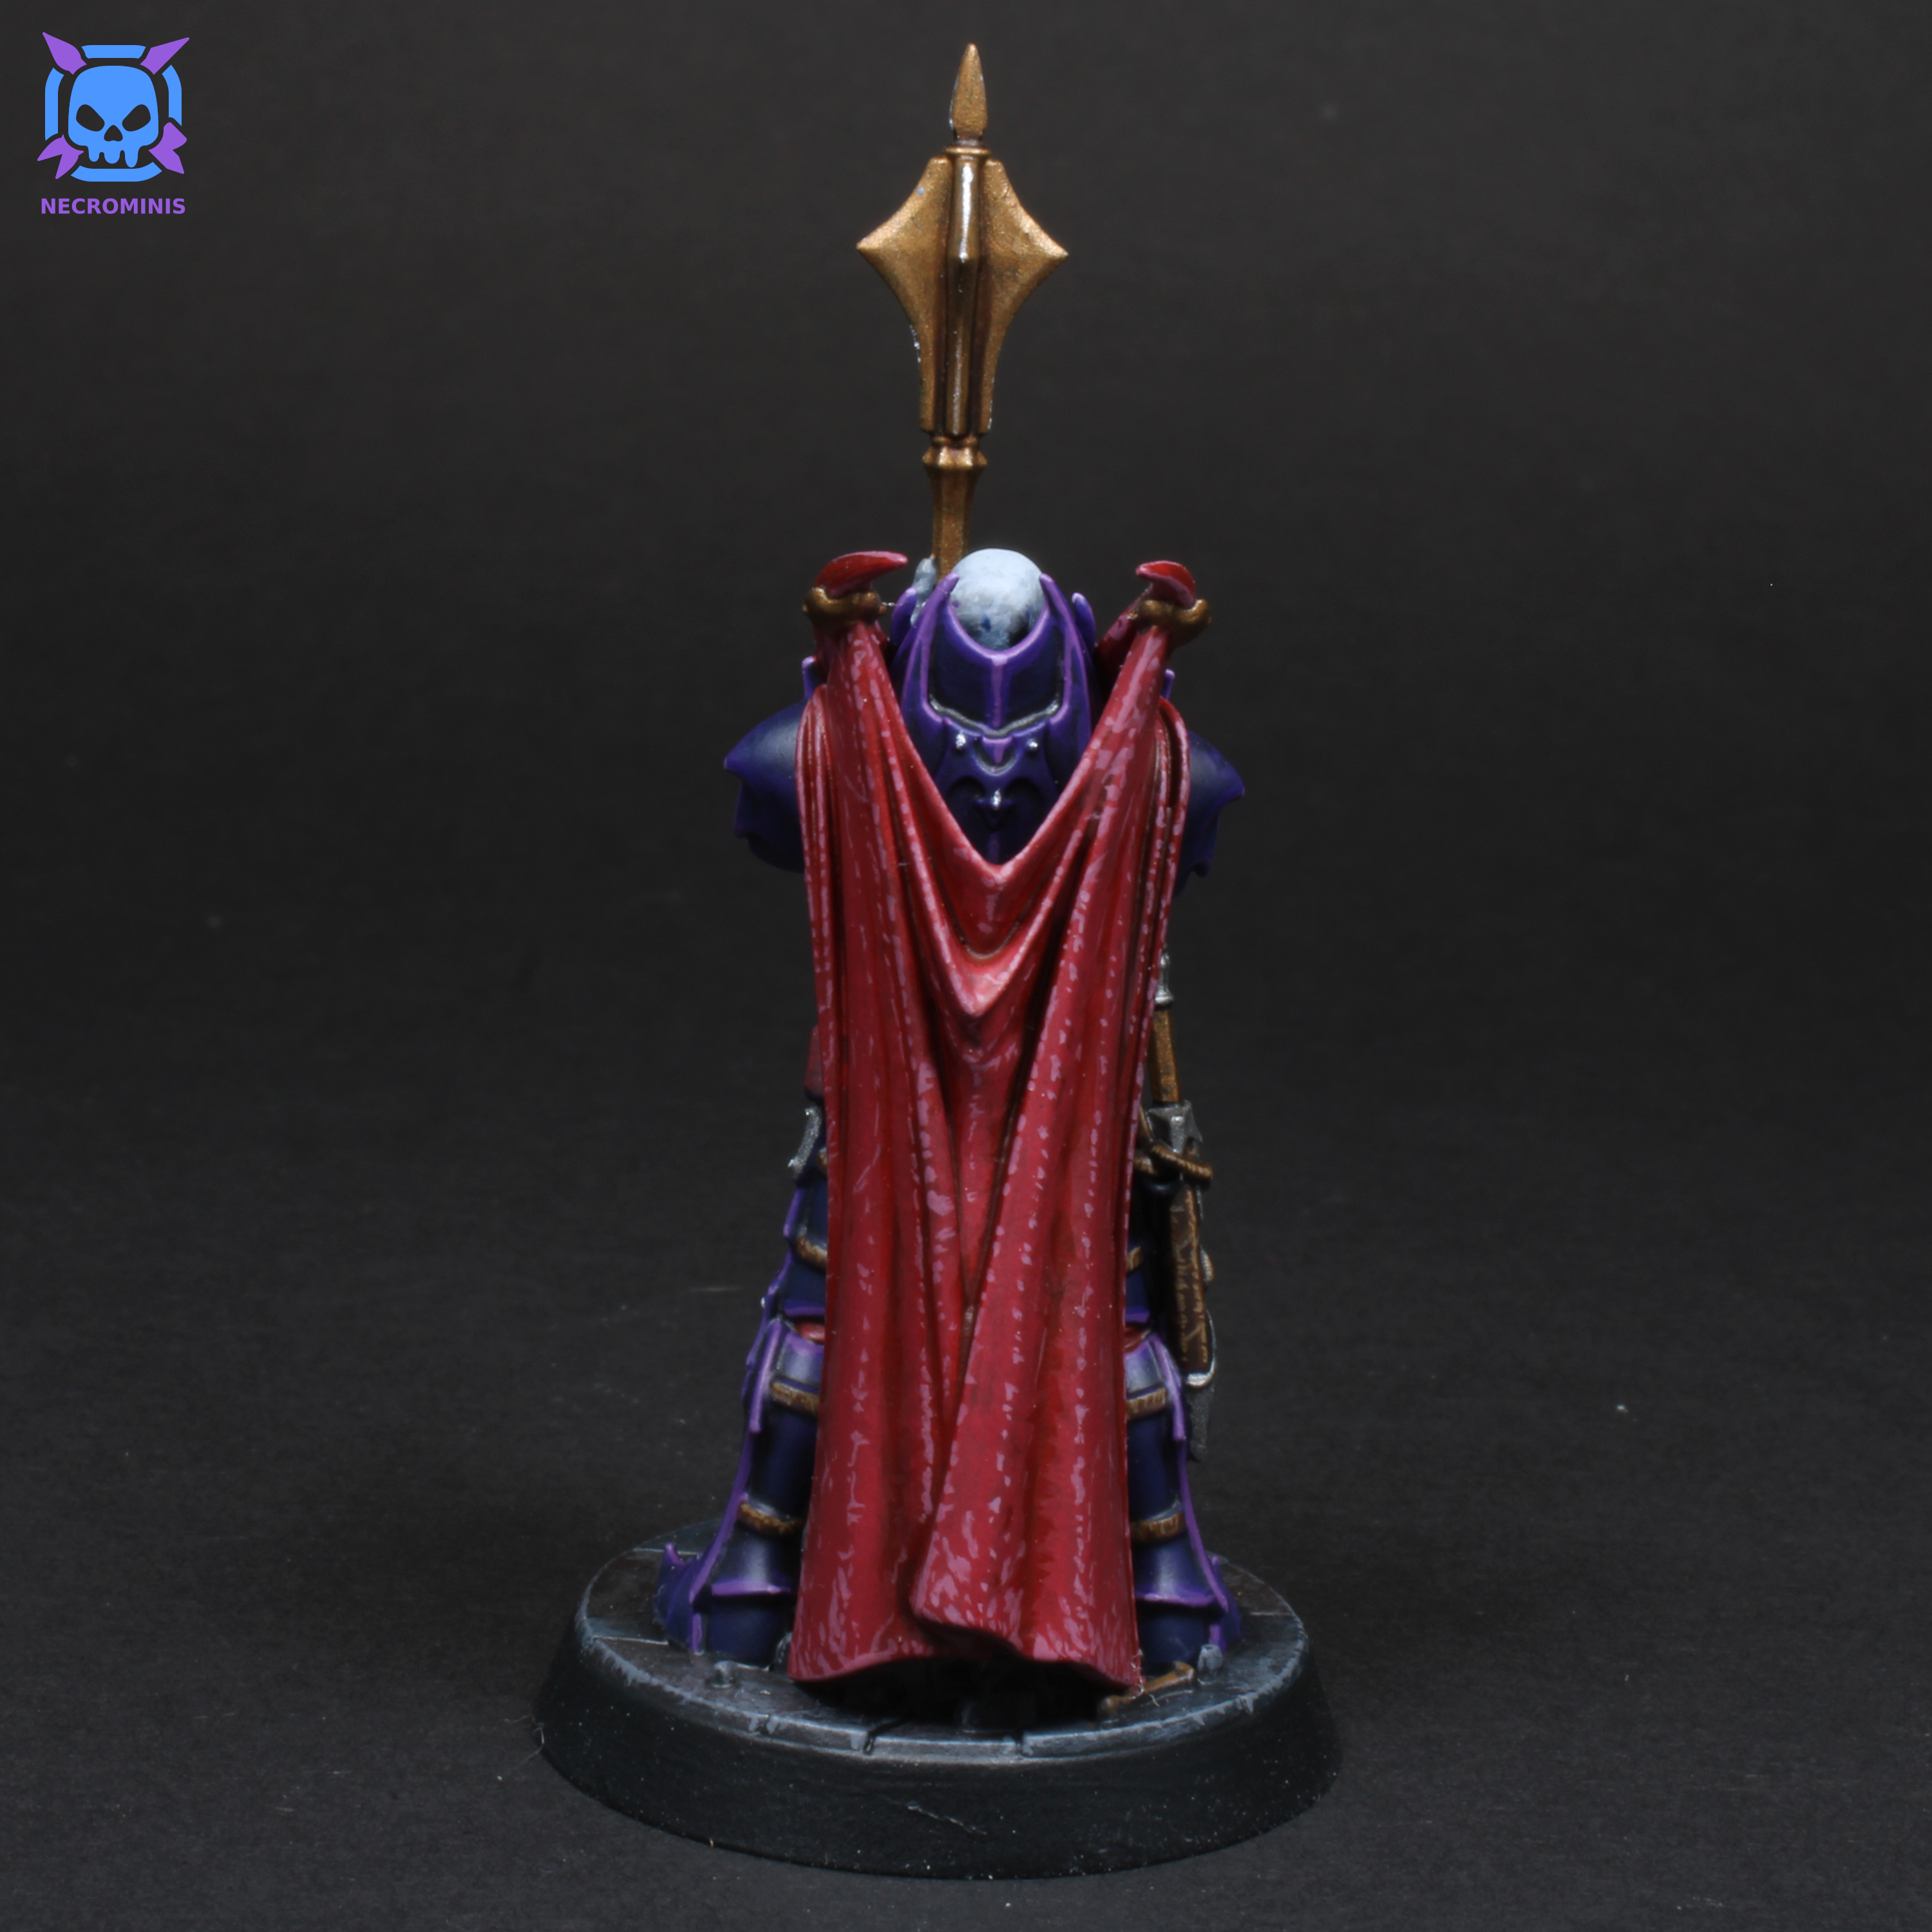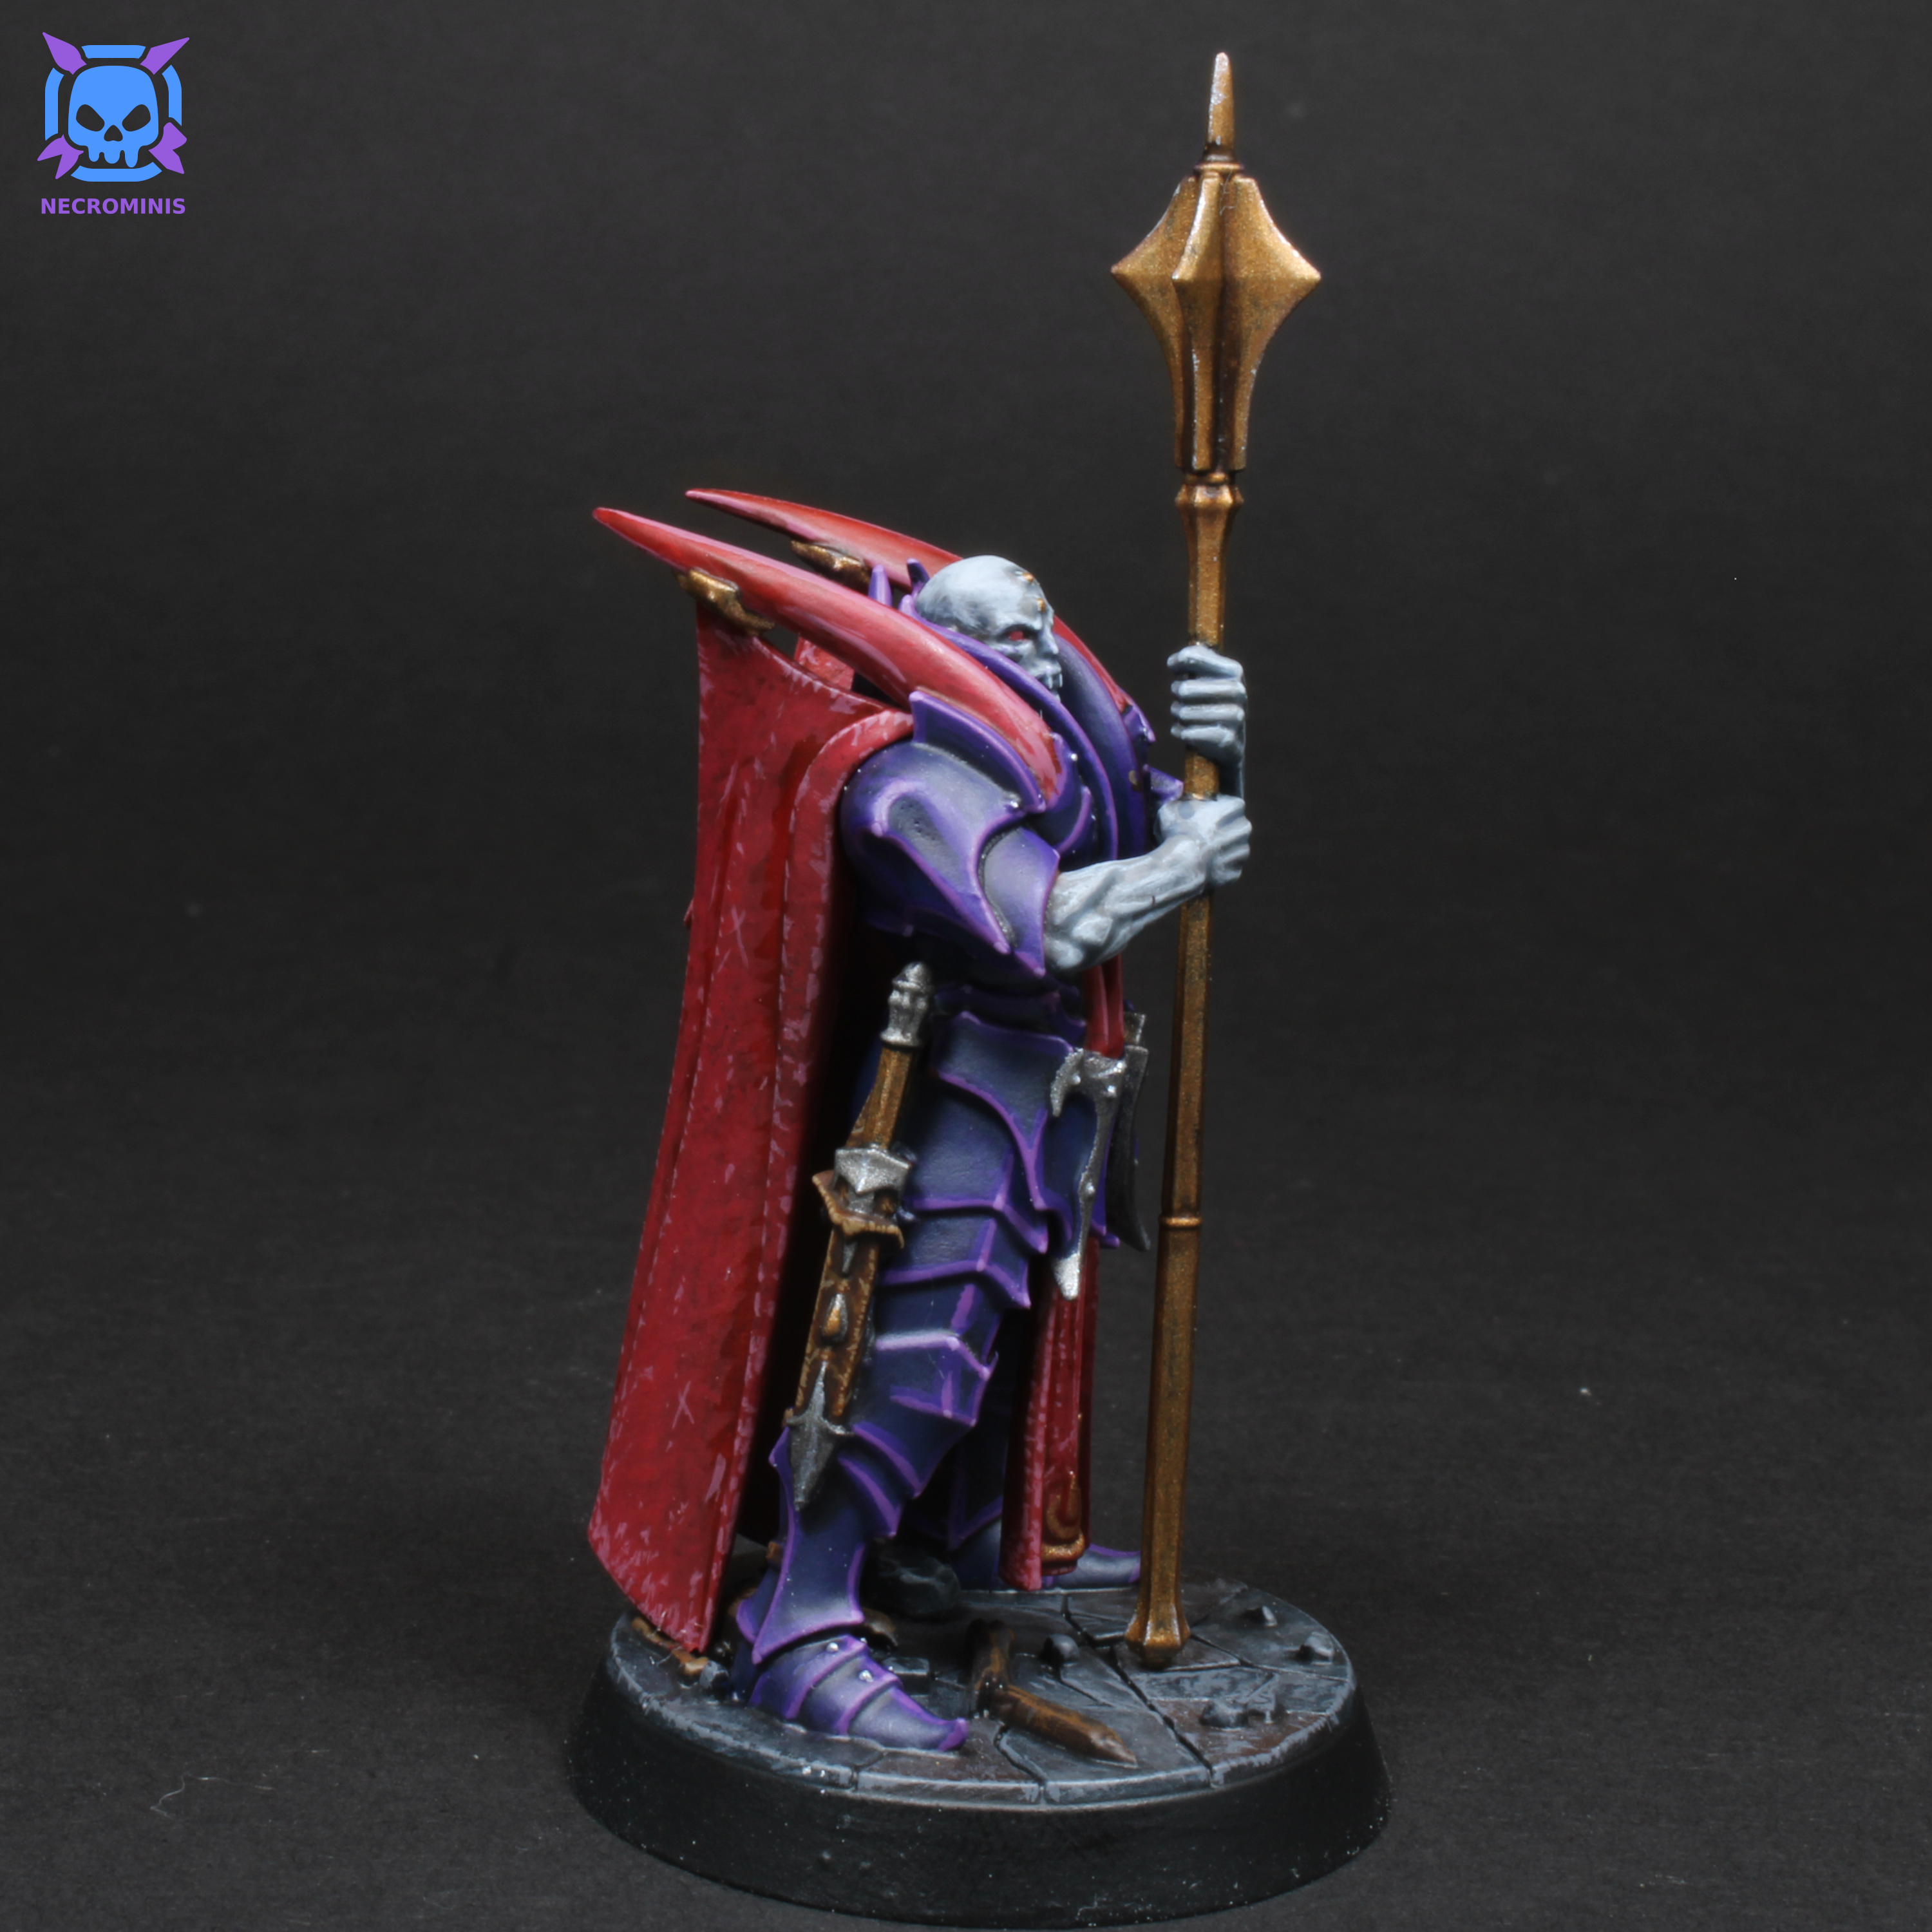
Violet Armored Soulblight Vampire
Details
| Soulblight Gravelord |
Paints Used
Vallejo — Game Color — Wolf Grey
Vallejo — Model Color — Medium Sea Grey
Vallejo — Model Color — Neutral Grey
Vallejo — Game Color — Sombre Grey
Vallejo — Model Color — Intermediate Blue
Citadel — Layer — Wazdakka Red
Vallejo — Game Color — Charred Brown
Vallejo — Model Color — Flat Brown
Vallejo — Game Color — Beasty Brown
Citadel — Base — Incubi Darkness
Vallejo — Game Color — Heavy Violet
Vallejo — Model Color — Purple
Citadel — Layer — Brass Scorpion
Citadel — Shade — Agrax Earthshade
Citadel — Contrast — Blood Angels Red
Citadel — Contrast — Ultramarines Blue
Stynylrez — Surface Primer — Black
Krylon — Clear Coatings — Matte Finish
Vallejo — Auxiliaries — Matt Acrylic Varnish
Krylon — Color Maxx — Satin Crystal Clear
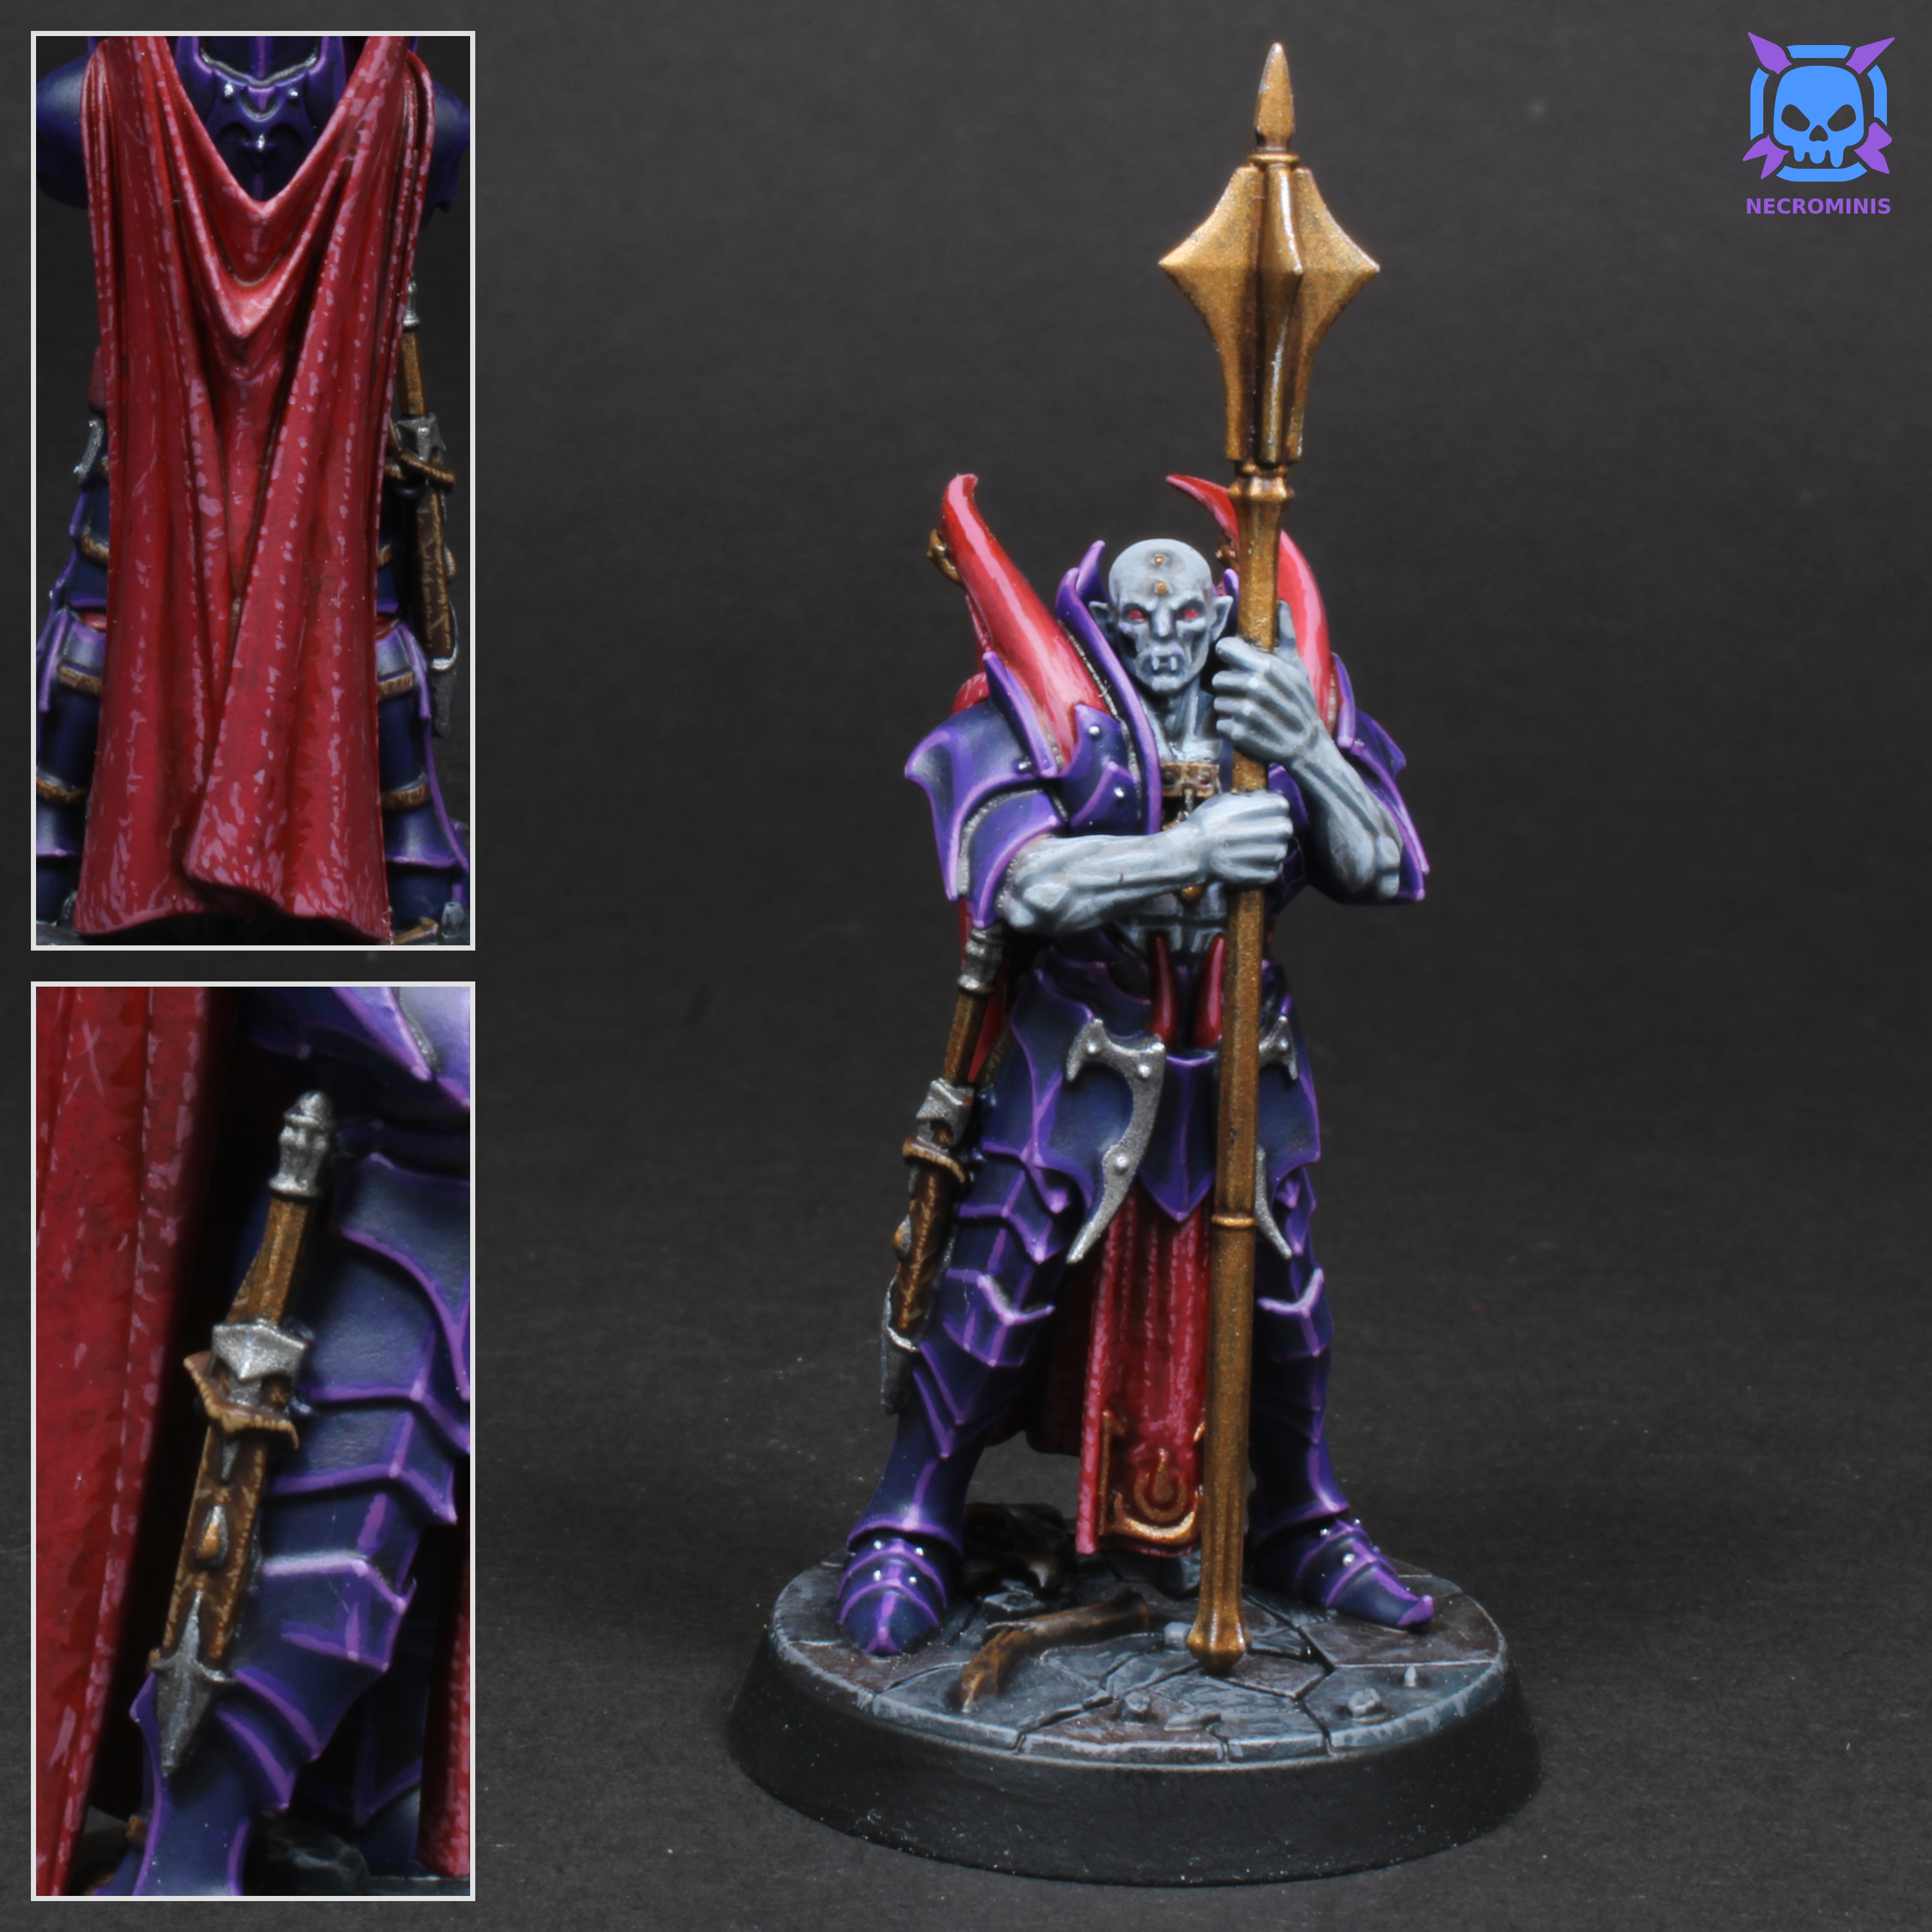
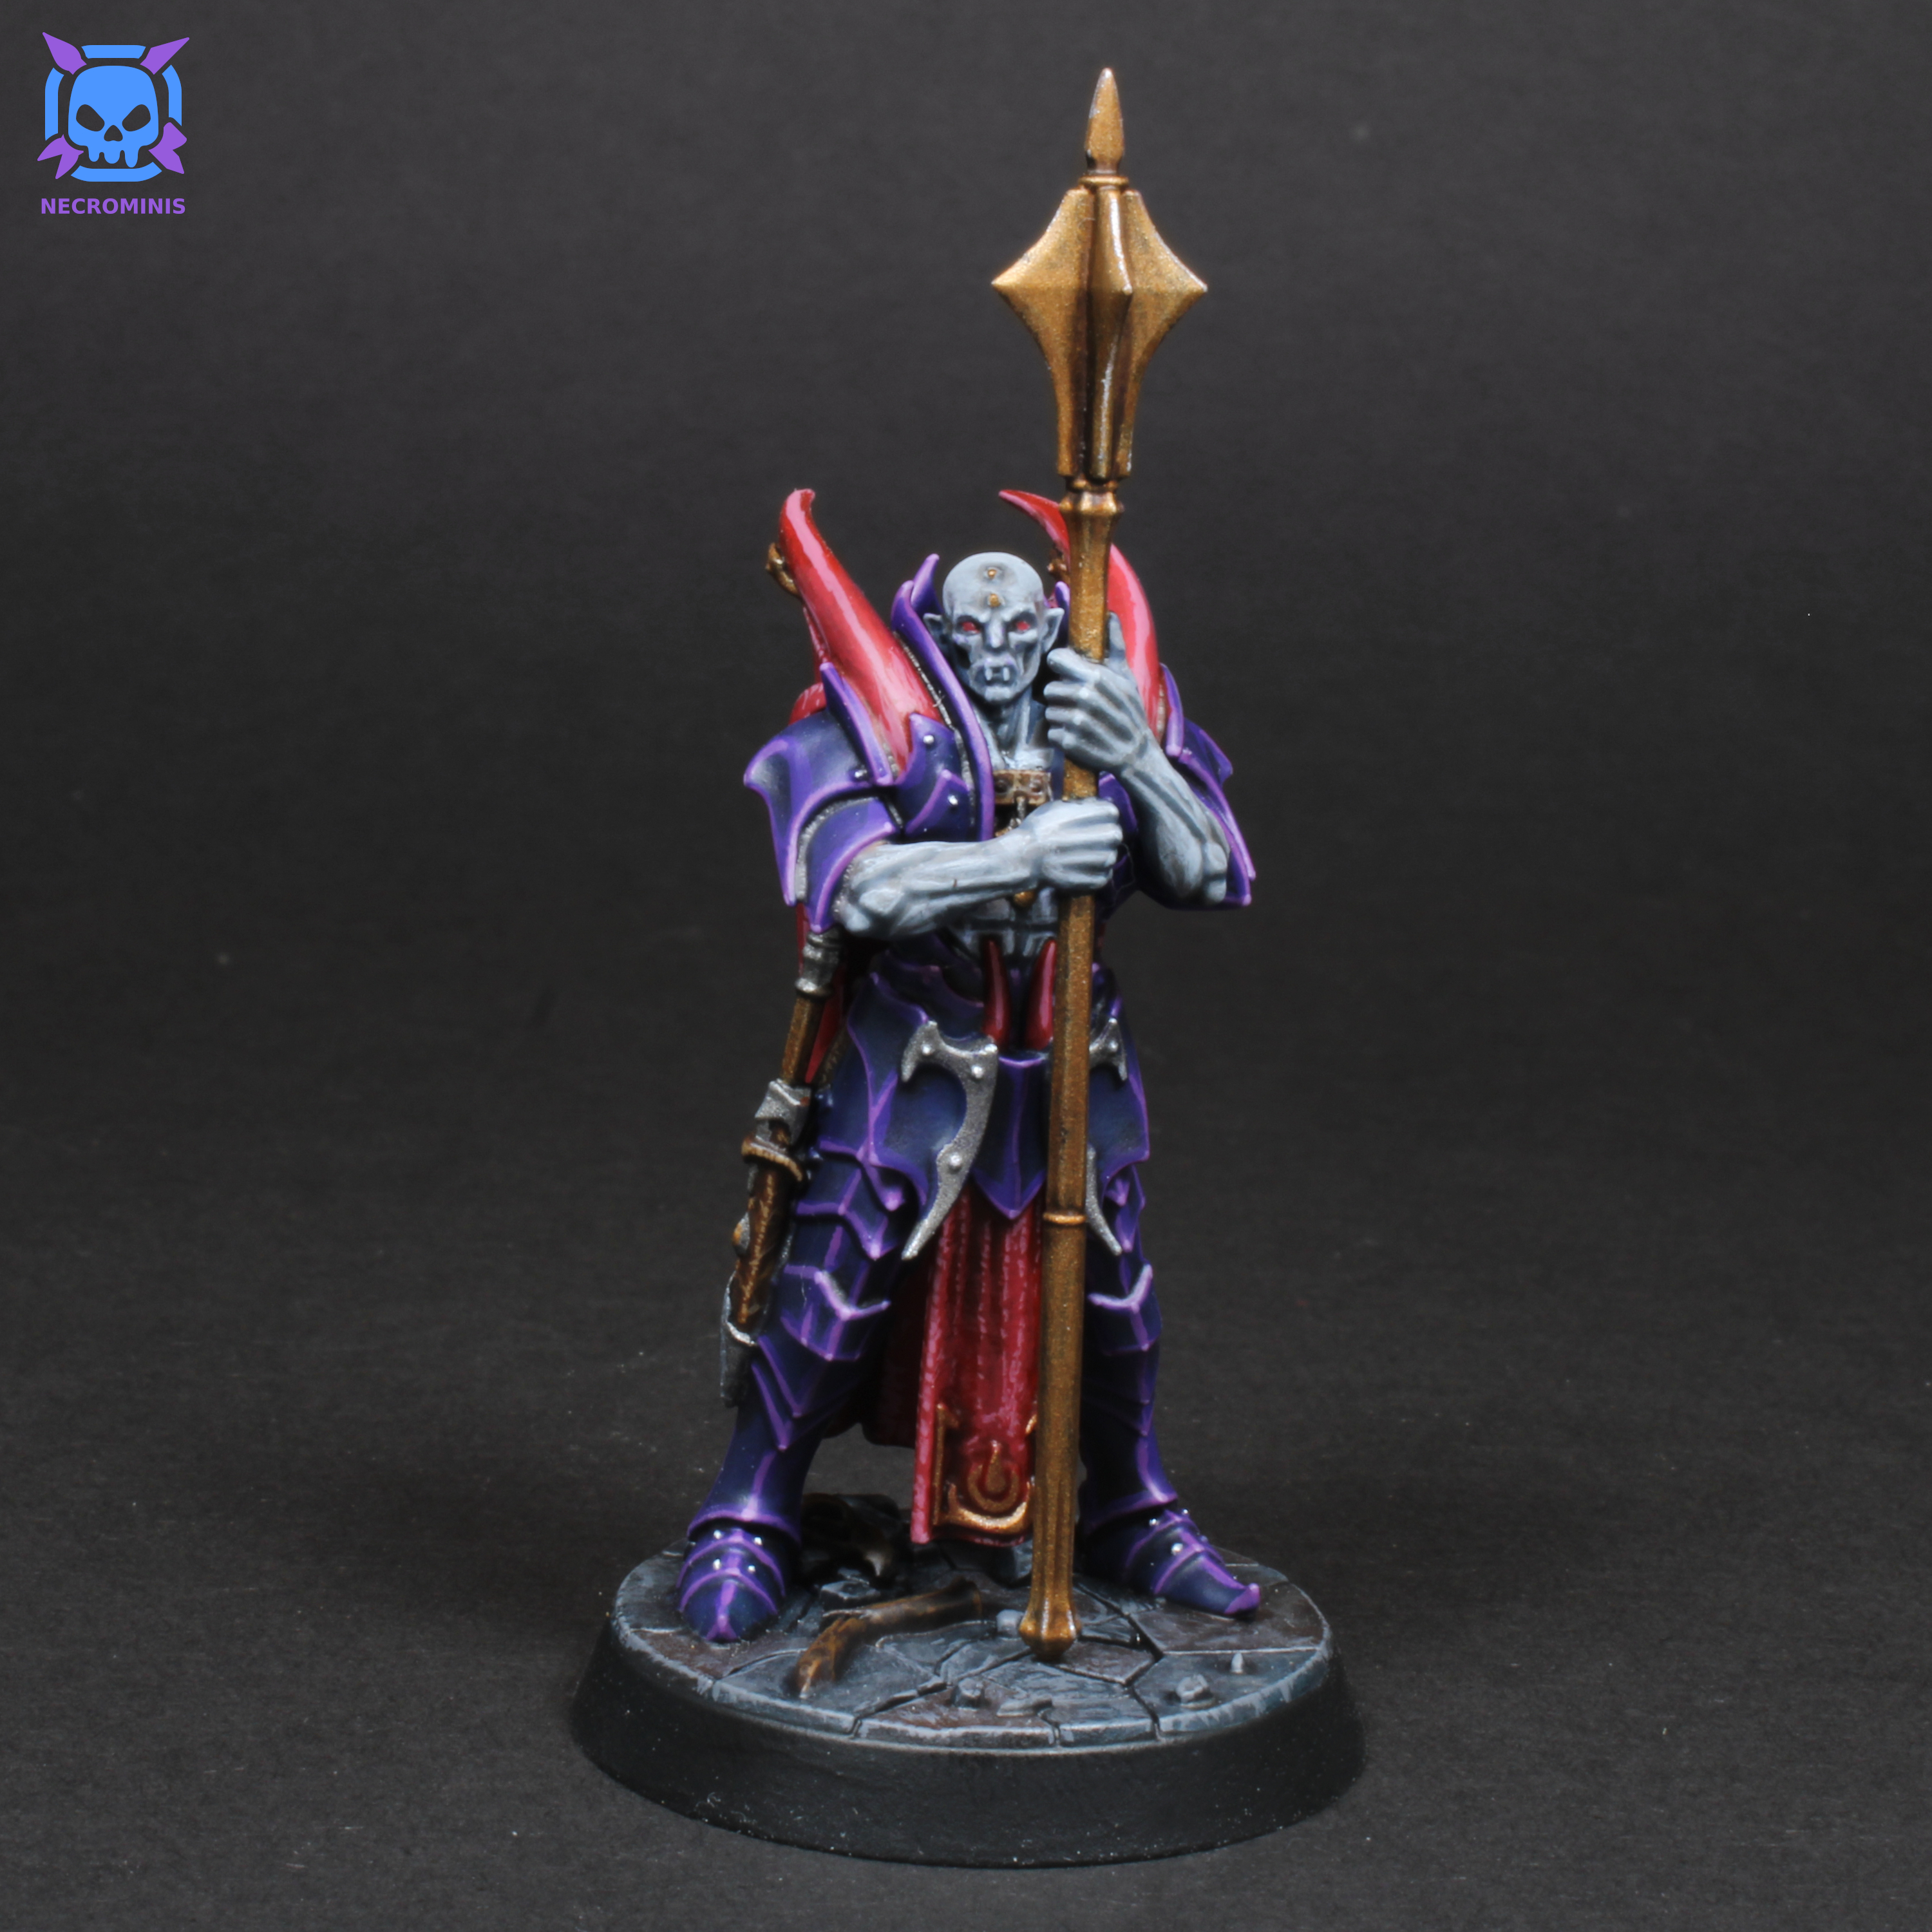
A Soulblight Gravelord Vampire painted with a dark purple and red color scheme.
To start off, I painted the skin. Skin is usually the hardest to fix if you get accidental paint on it (due to the non-uniform color and shading). Since it was in the most recessed and hard to reach areas, I painted it first. I used a similar light grey scheme from my previous vampire mini.
I knew I wanted to paint each of the vampires in this Crimson Court pack differently, and I’m saving the red armor of the box art for the main one, but I wasn’t sure what armor color to pick. It took me a bit to decide, but eventually I thought I’d test out my Ultramarines Blue Contrast paint. After priming the mini black, I gave the armor a quick coat with the blue Contrast paint. It looked awful. The shading was terrible, leading me to wonder how people even use it, and the color wasn’t what I imagined it to be. So, I scrapped the blue armor idea, but thought I could still salvage it. I decided on purple. Since the blue was dark enough, it could act as a shadow if I use a cool violet color. So I gave it a thick edge highlightEdge highlighting is the technique where you paint the raised edges and corners on a miniature brighter than noraml, in order to help them stand out more, and because edges tend to reflect slightly more light in real life. with a dark, cool violet, and then a sharper edge highlight with a lighter, warmer purple. I found that dotting the sharp corners corners with an even lighter purple (by mixing some light grey in) adds the most subtle but important pop to these sharp armor edges.
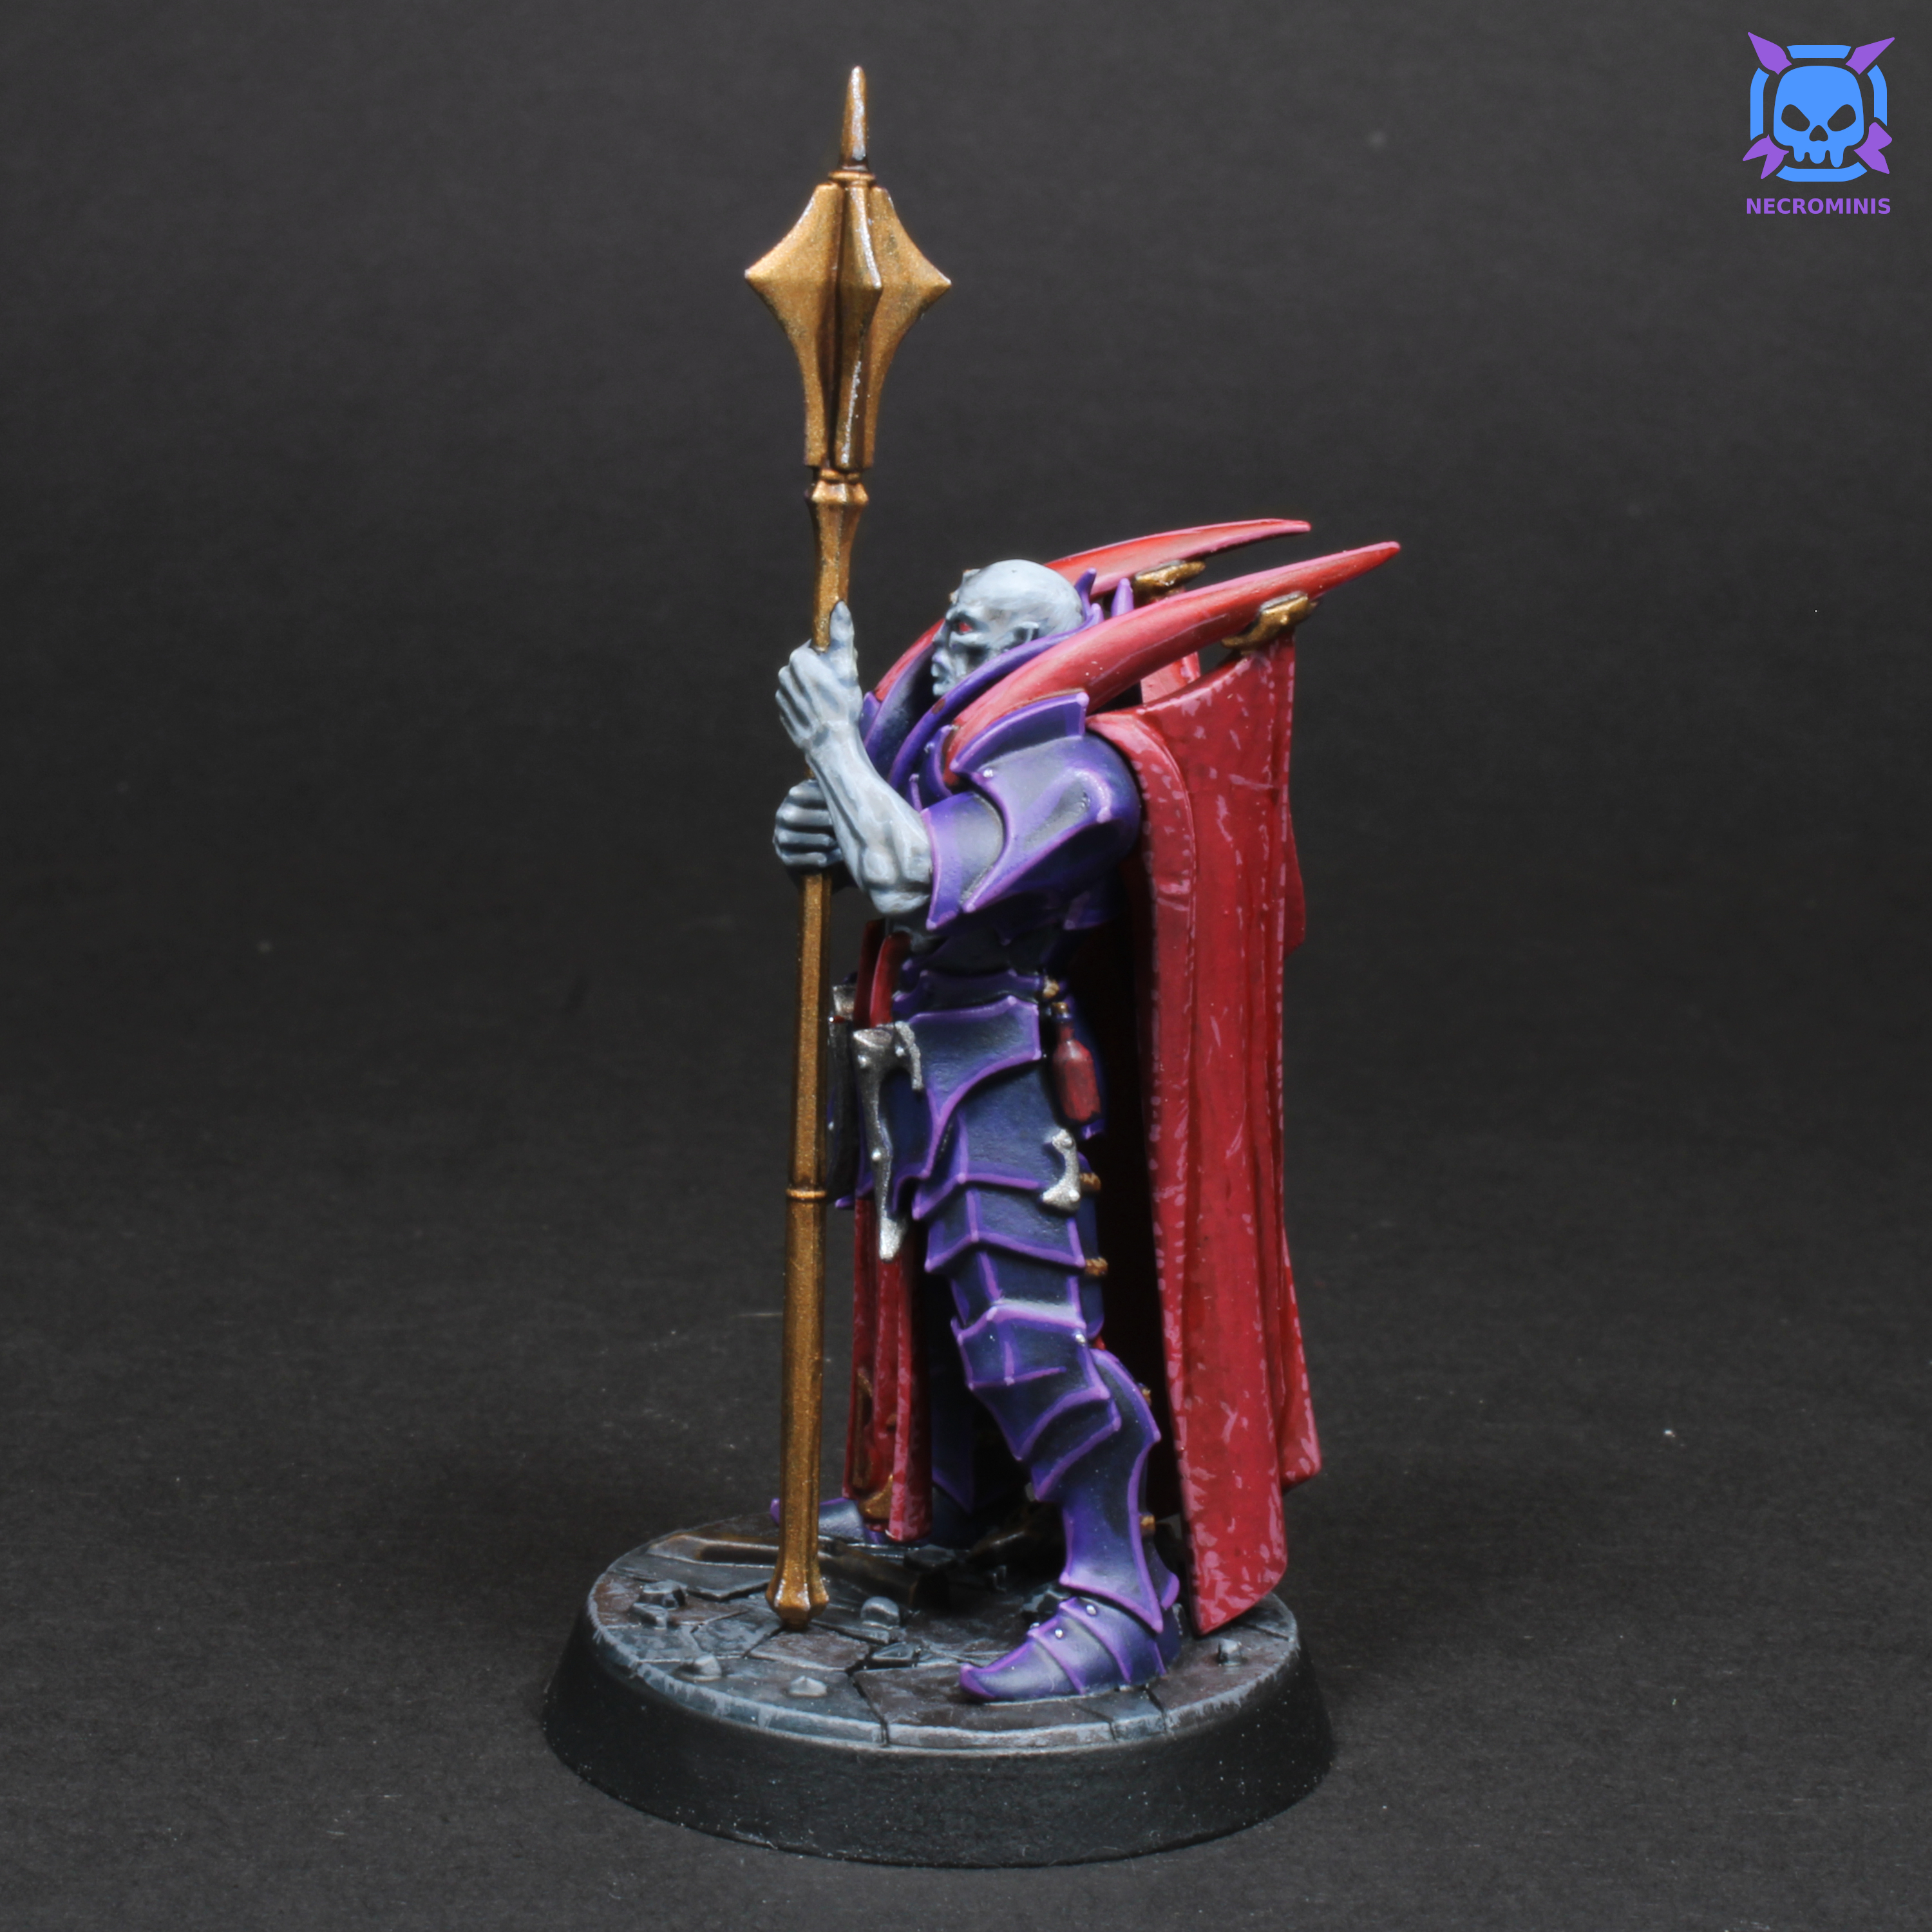
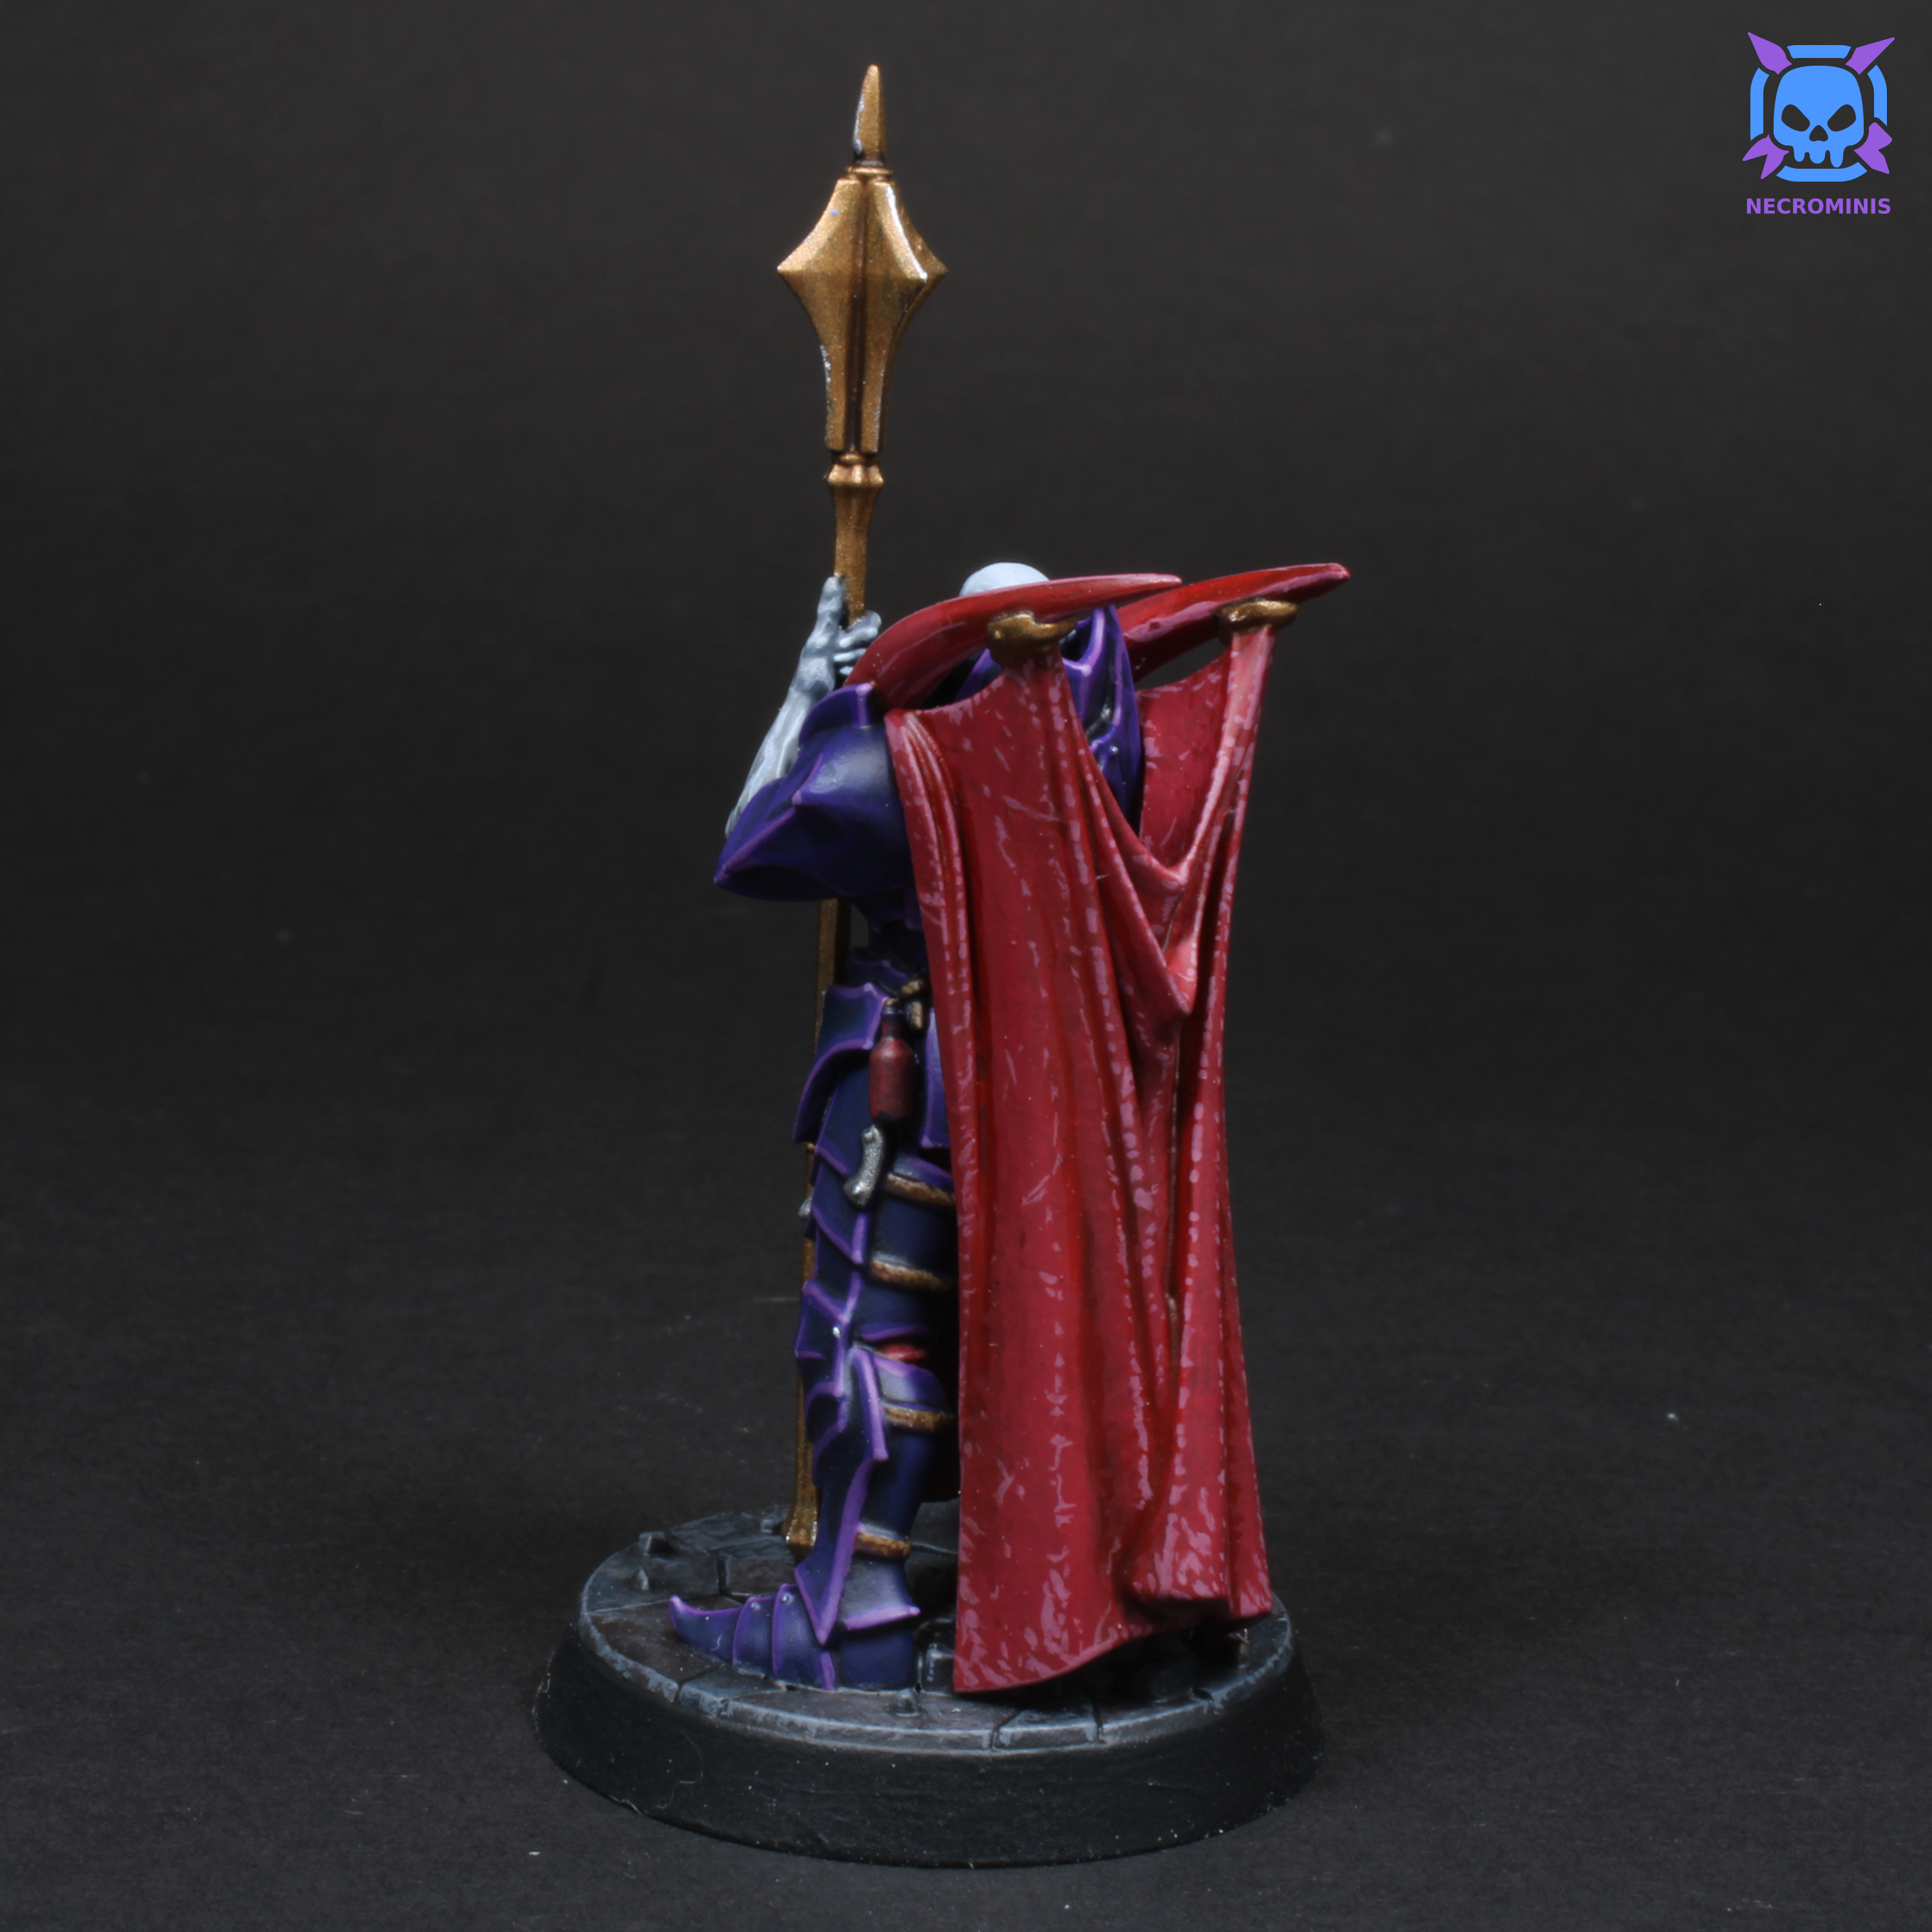
I knew I still wanted some red, though, because it is a vampire after all and vampires are associated with blood and red. I decided to paint the cloth parts red, so I base coated them and noticed the horns on the armor could also use the red color. This helped balance the colors and frame the head a bit more. I shaded it with Blood Angels Red, another Contrast paint, and then layeredLayering is the technique of creating a smooth blend between colors by using multiple layers slightly thinned paint and shrinking each layer to create a smooth transition between colors. back up to the original red. I slowly added light grey to the red, and layered up using a stipplingStippling is a painting technique where you gently jab with the tip of your paint brush to create spotty splotches of color. It’s usually used for texturing rough-looking surfaces, or combined with glazing to create smooth blends. method. After two or three times it had nice, rough highlighting. I then gave it a stippled and messy edge highlight with the lightest red, to add one last pop to it.
Next I did my favorite brown leather technique on straps and leather parts, weathering it so it’d stand out from the shiny and new armor.
After all that, I had two things left. I painted all the metal parts with a dark silver or bronze, gave them a washWashes are paints diluted with water, which can be "washed" onto a miniature in order for the paint to flow into the recesses, usually for shading purposes. of Nuln Oil or Agrax Earthshade respectively, and then edge-highlighted them up with a bright silver. I also dotted some rivets with silver or bronze as well.
The base was fairly simple. I base coated the cobblerstones randomly with either dark brown or a deep navy blue, for some variety. I then drybrushed them with some grey and roughly edge-highlighted them with grey as well. The stake and bones were base coated with the same dark brown but roughly dry-brushed and edge-highlighted with a lighter brown.
Finally, I gave it a clear coat of satin covered in a clear coat of matte. ier clear coats are more protective than matte finishes, so sometimes I put a gloss or satin layer under my matte finishes for extra protection. I used the Vallejo matte through my airbrush, but it was too matte for my liking, so I switched to the Krylon matte finish instead as it has a very slight shene that helps bring out vibrant colors better without being satin or glossy.
Overall, I think this miniatured turned out great. I still think my previous vampire was a better job, but only because it had a more atmospheric lighting compared to this one which was painted as if it was in simple daylight. I do however think the armor turned out much better on this miniature.
