Four Ghostly Myrmourn Banshees
Details
| Myrmourn Banshees |
Paints Used
Vallejo — Model Color — Off-White
Vallejo — Model Color — Intermediate Blue
Vallejo — Game Color — Charred Brown
Vallejo — Model Color — Refractive Green
Citadel — Layer — Temple Guard Blue
Citadel — Base — Incubi Darkness
Vallejo — Model Color — Flat Blue
Citadel — Layer — Brass Scorpion
Stynylrez — Surface Primer — Black
Krylon — Clear Coatings — Matte Finish
Krylon — Color Maxx — Satin Crystal Clear
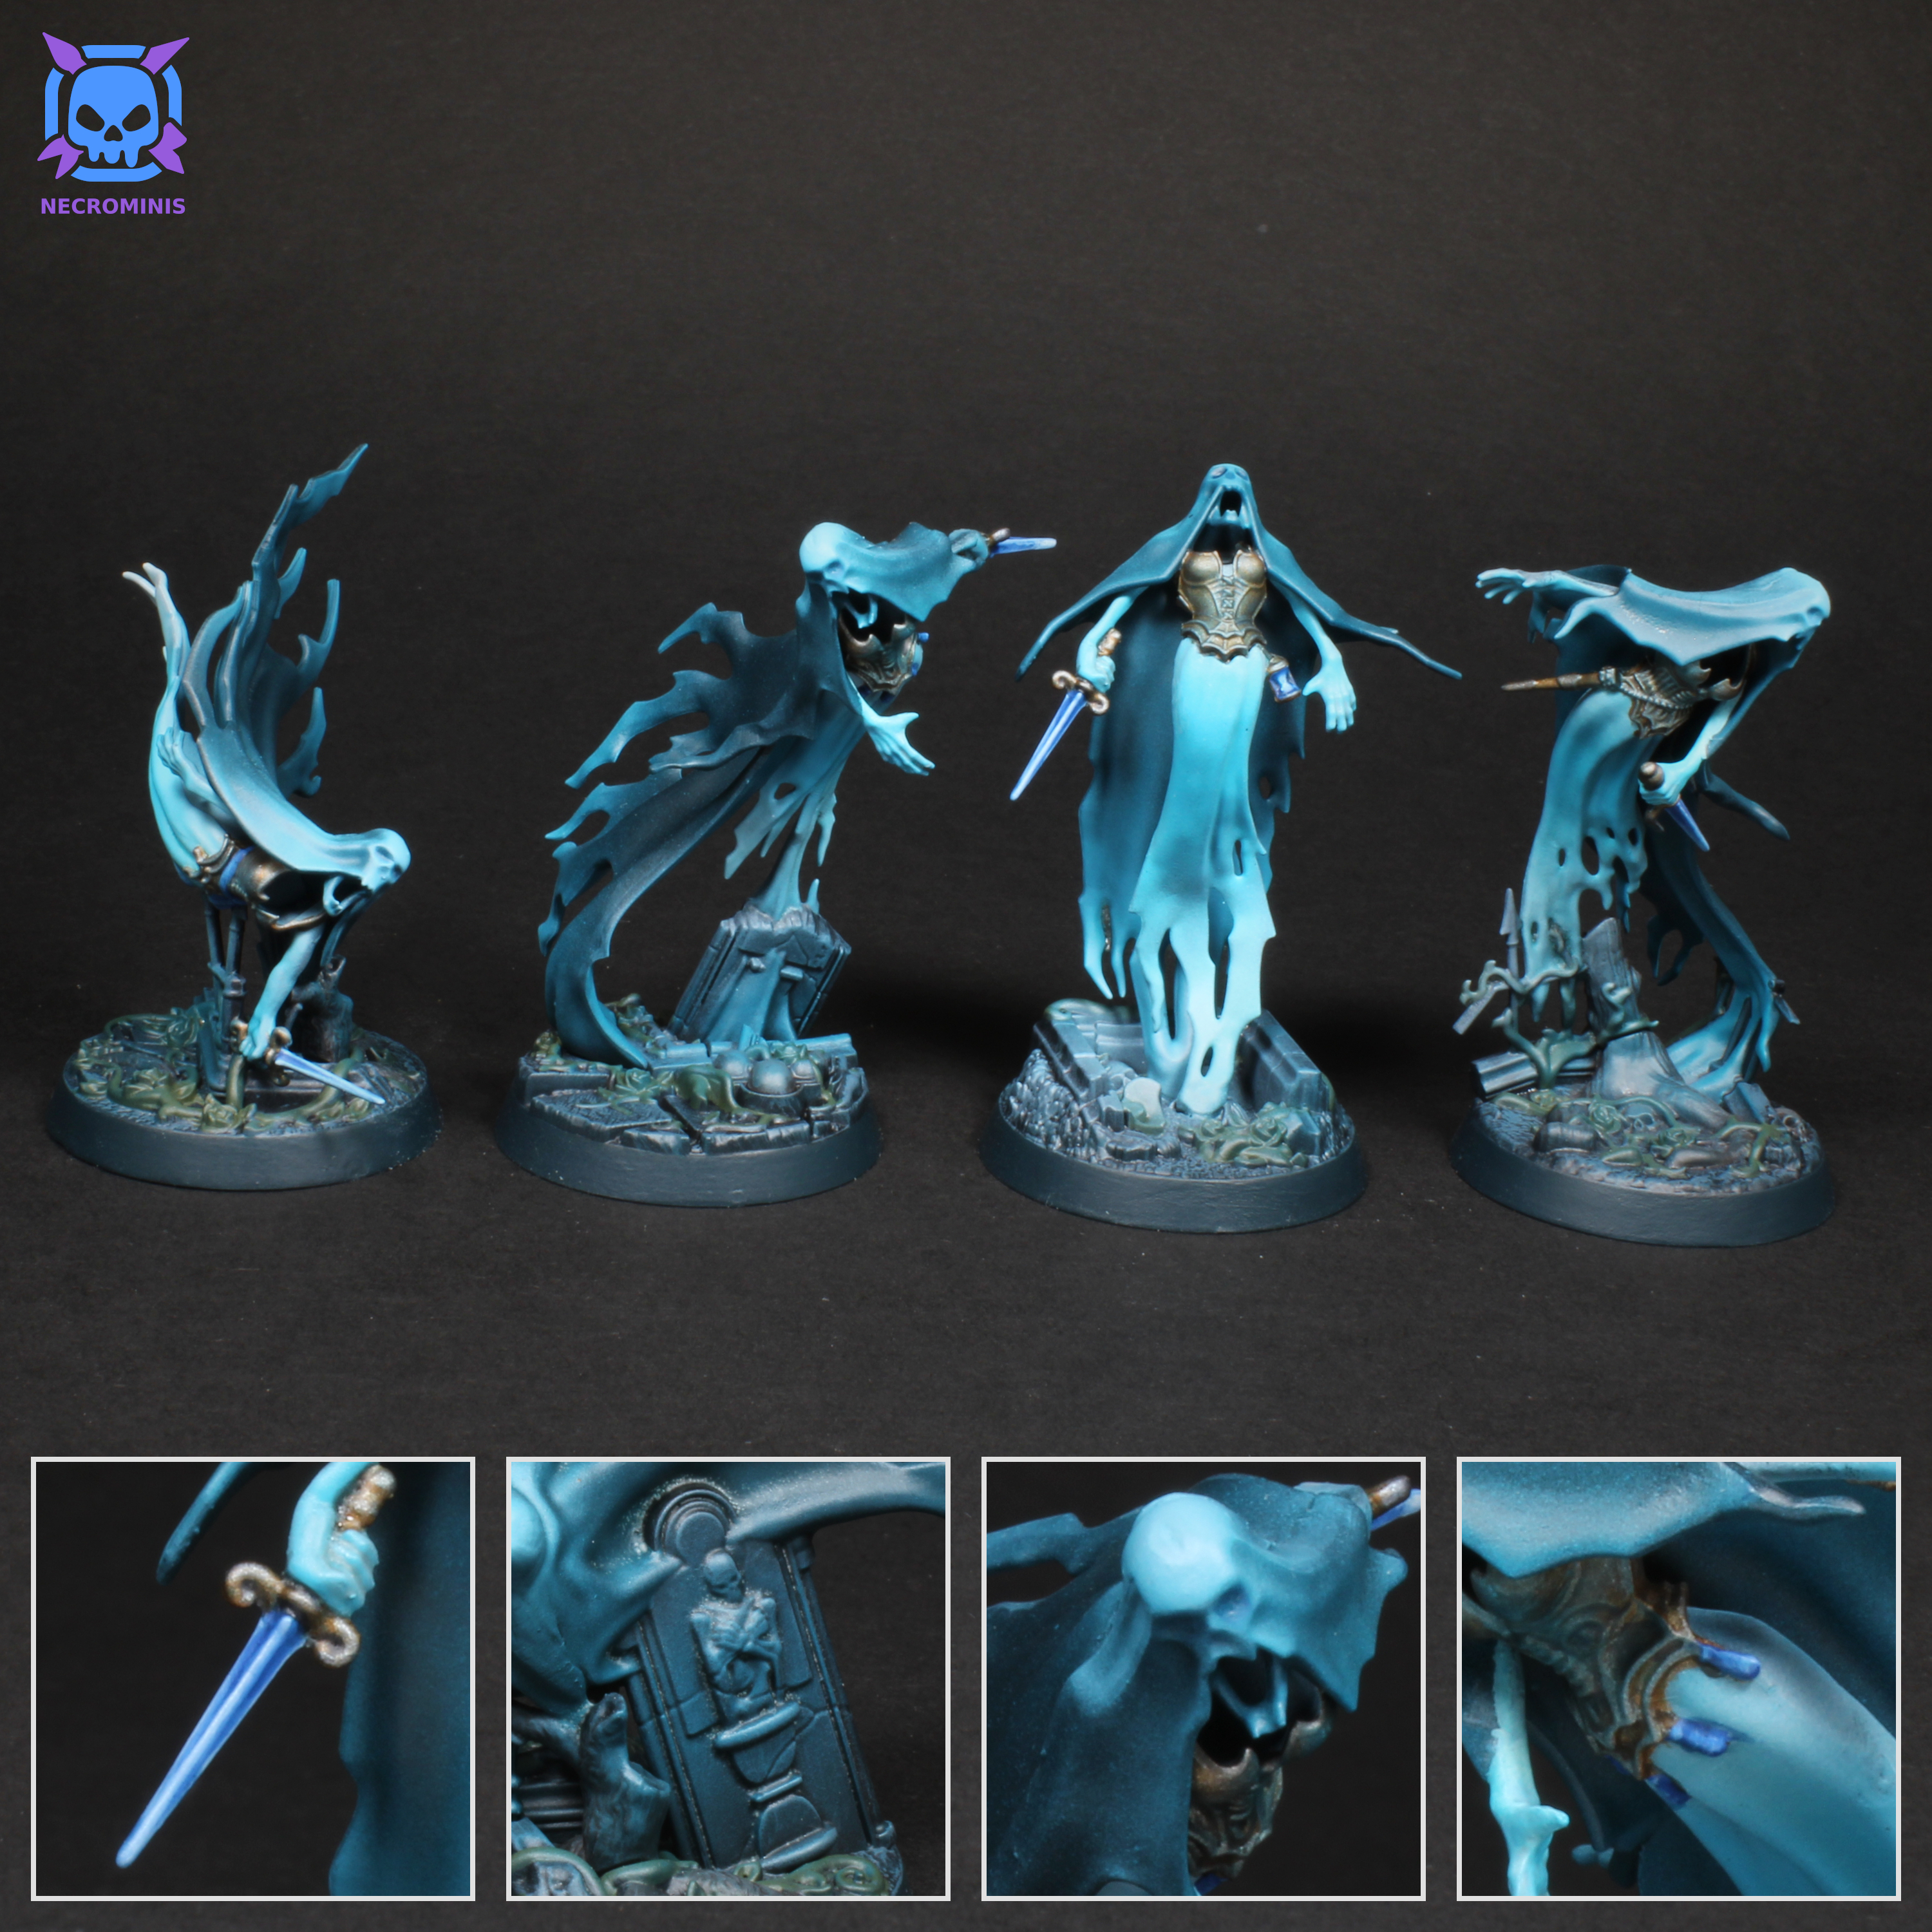
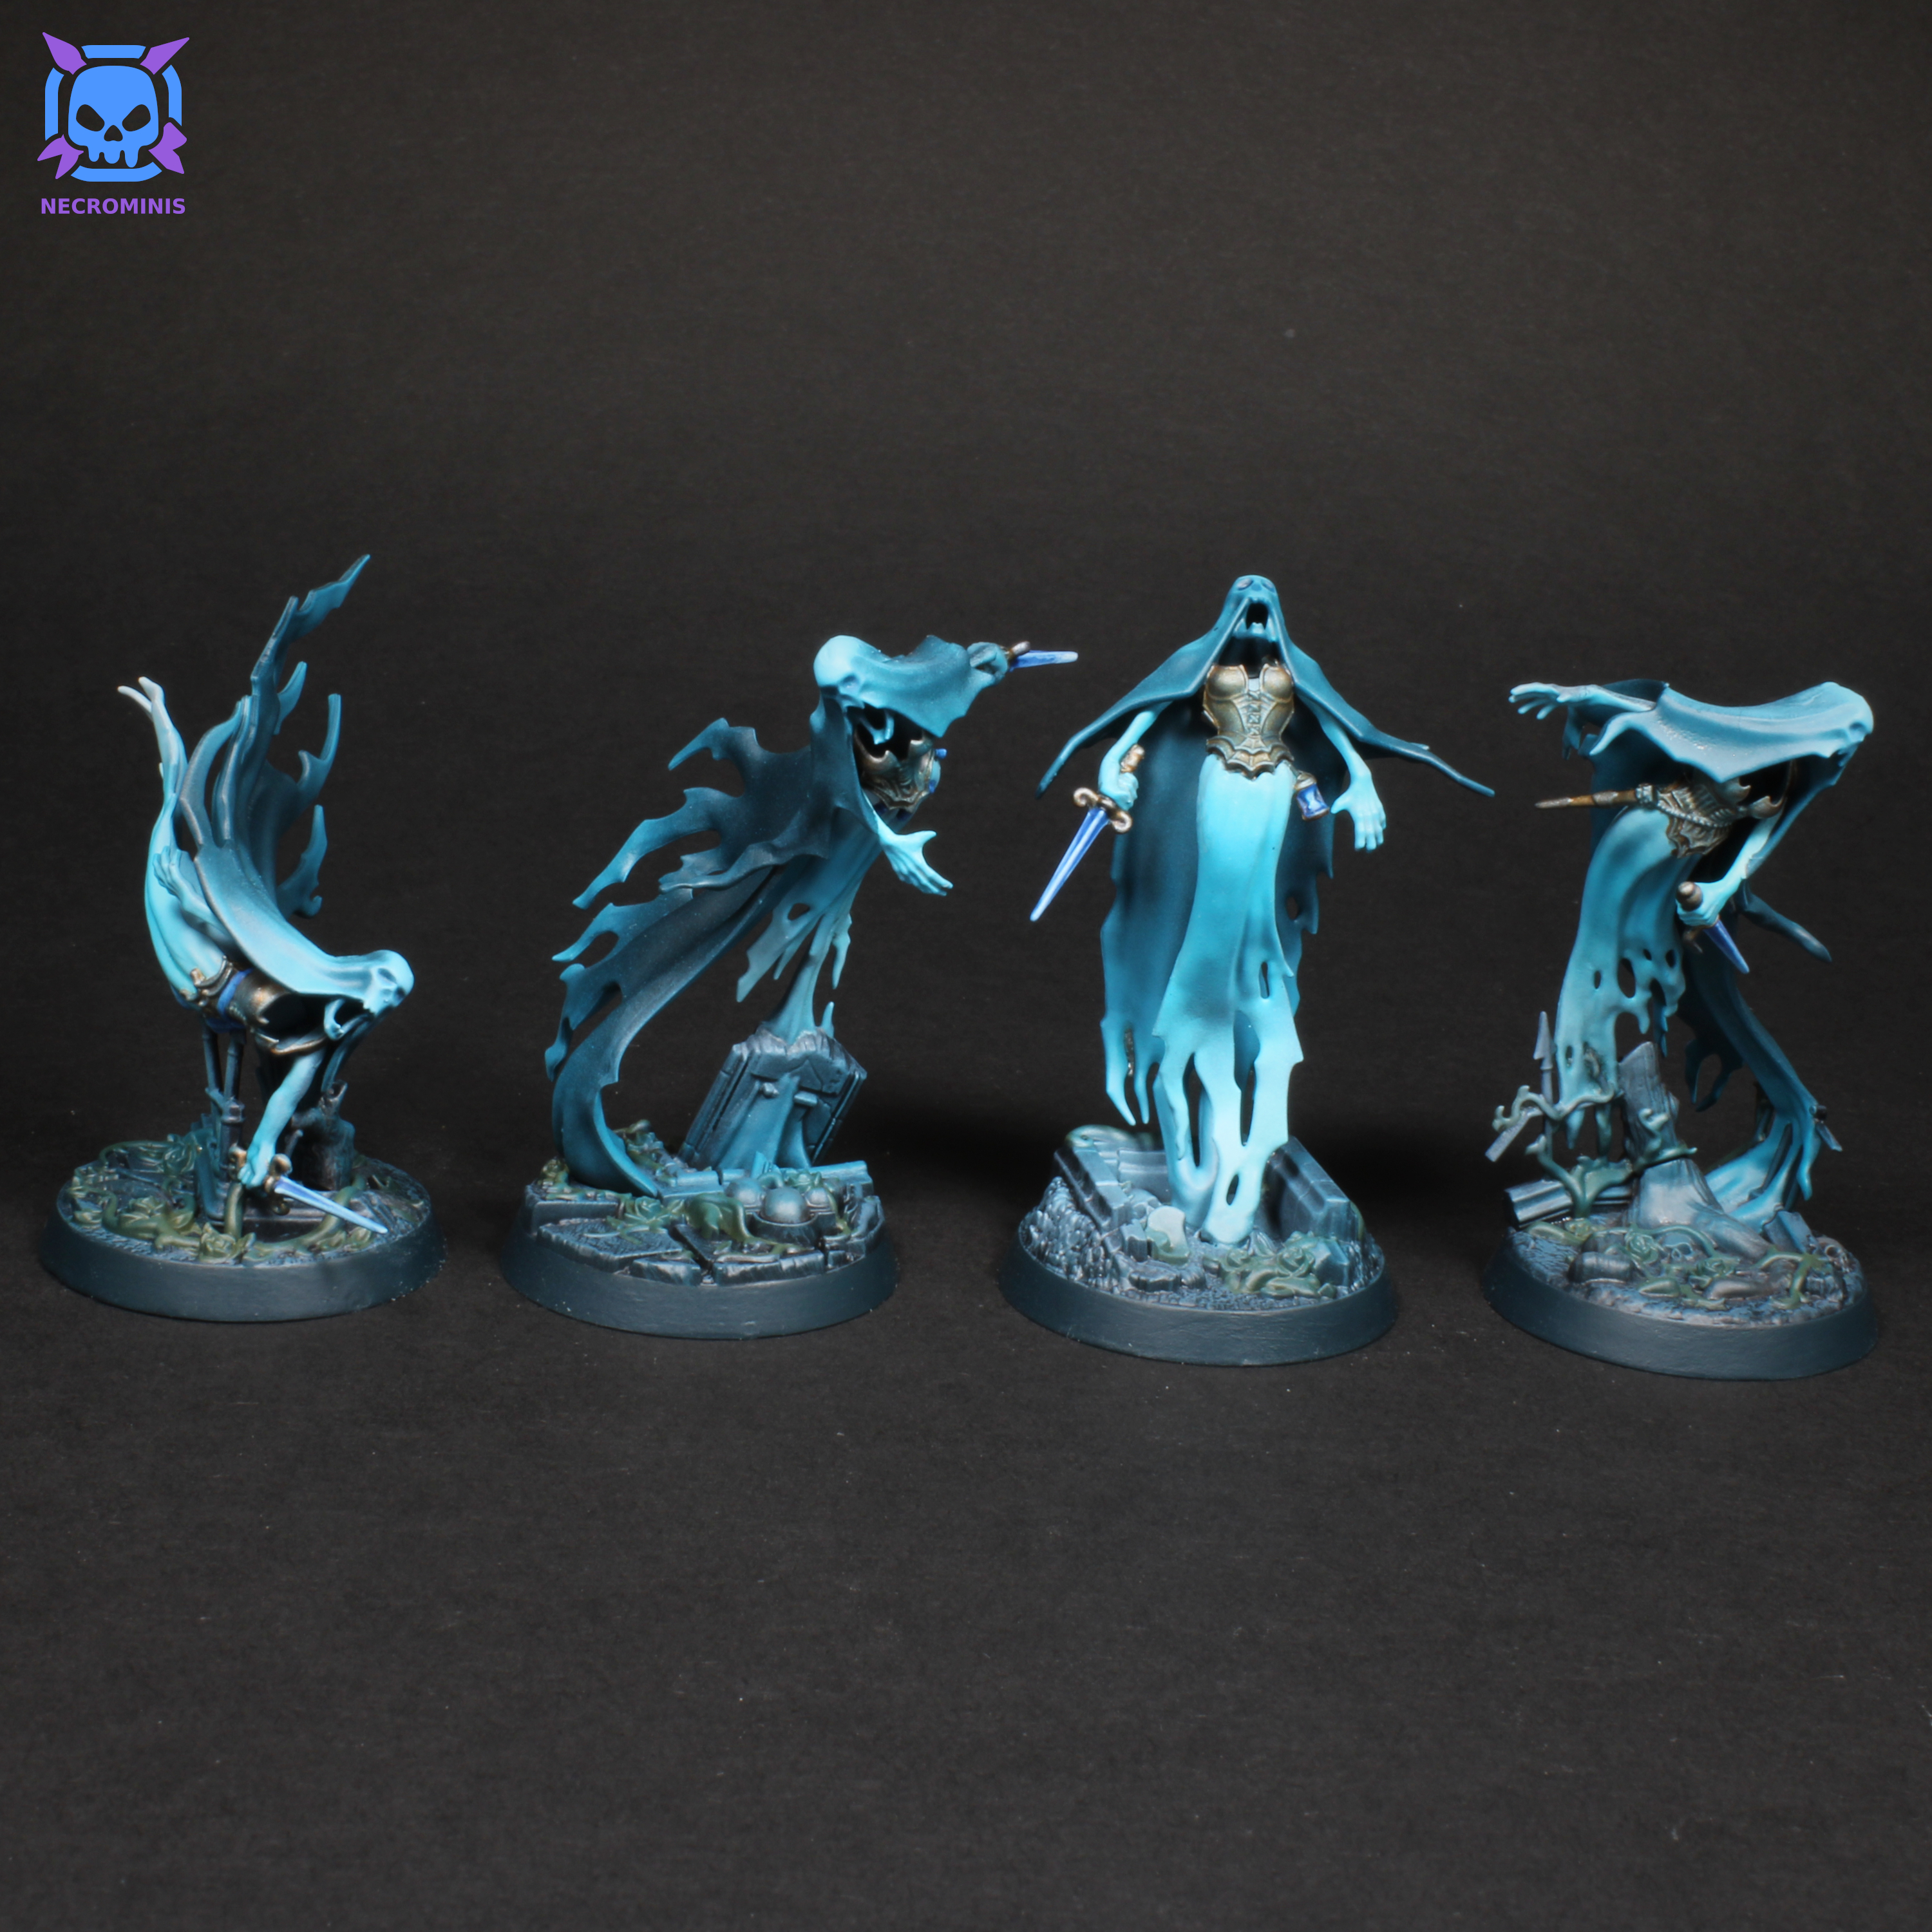
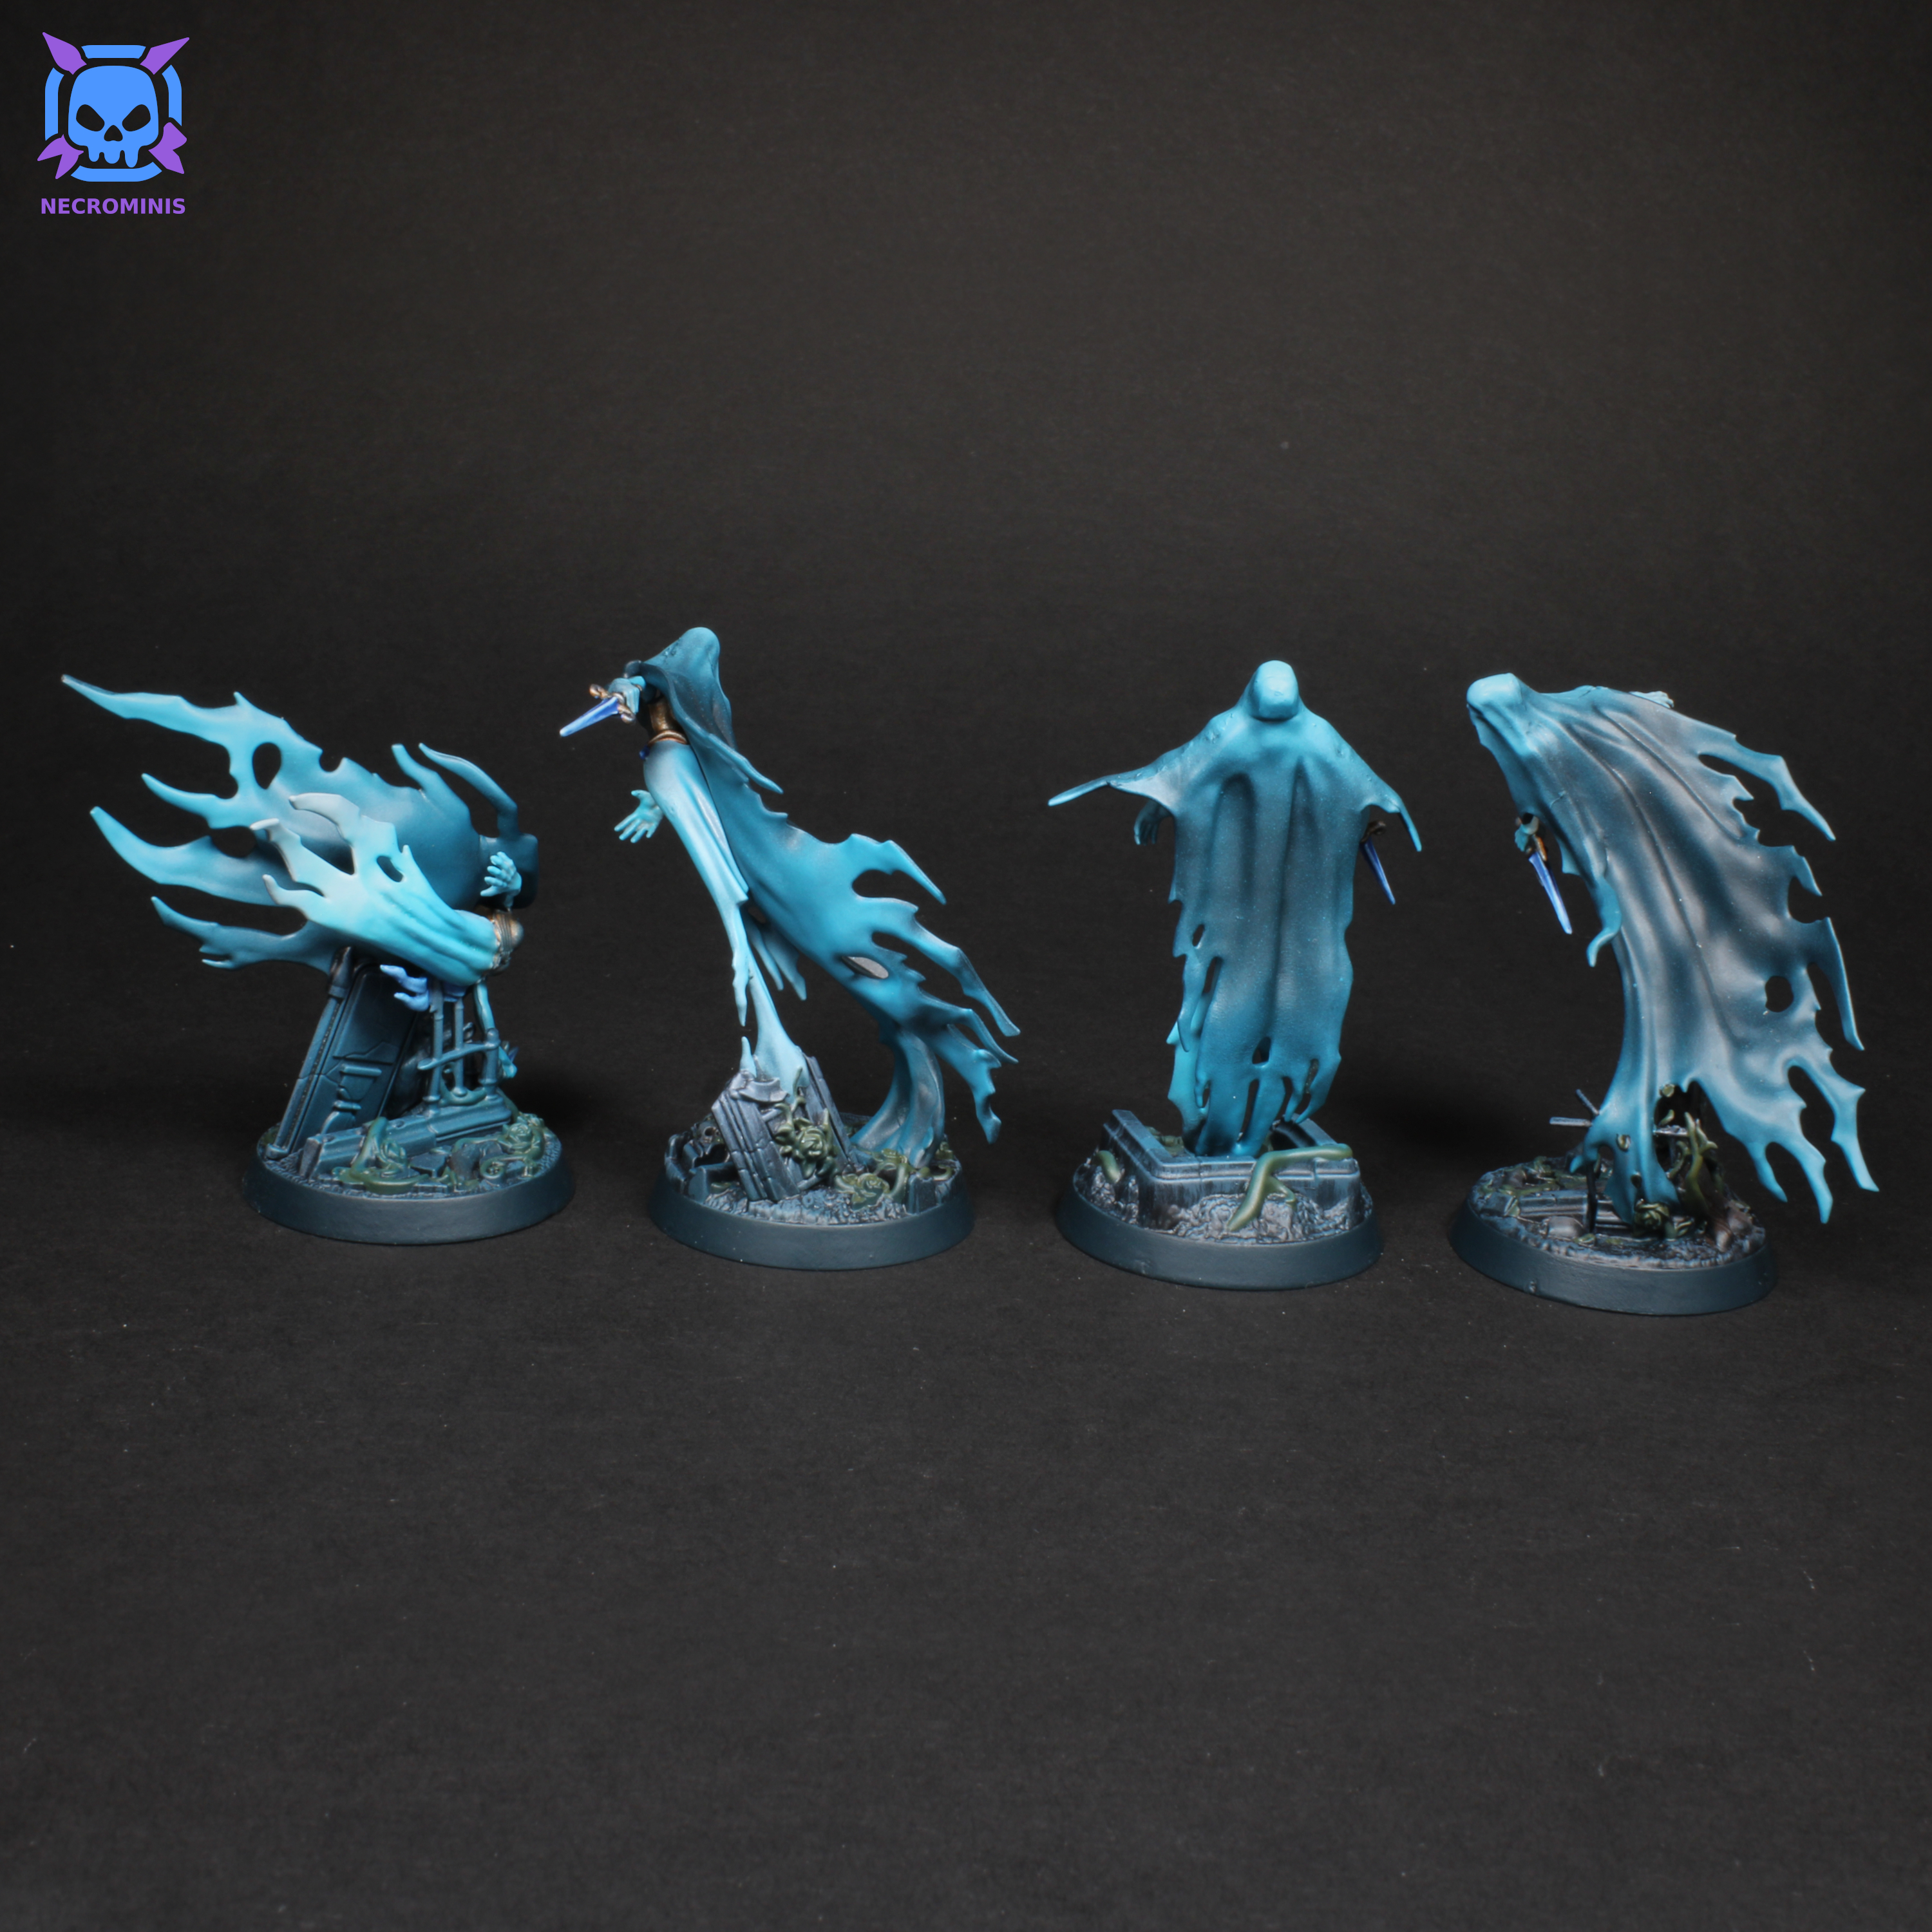
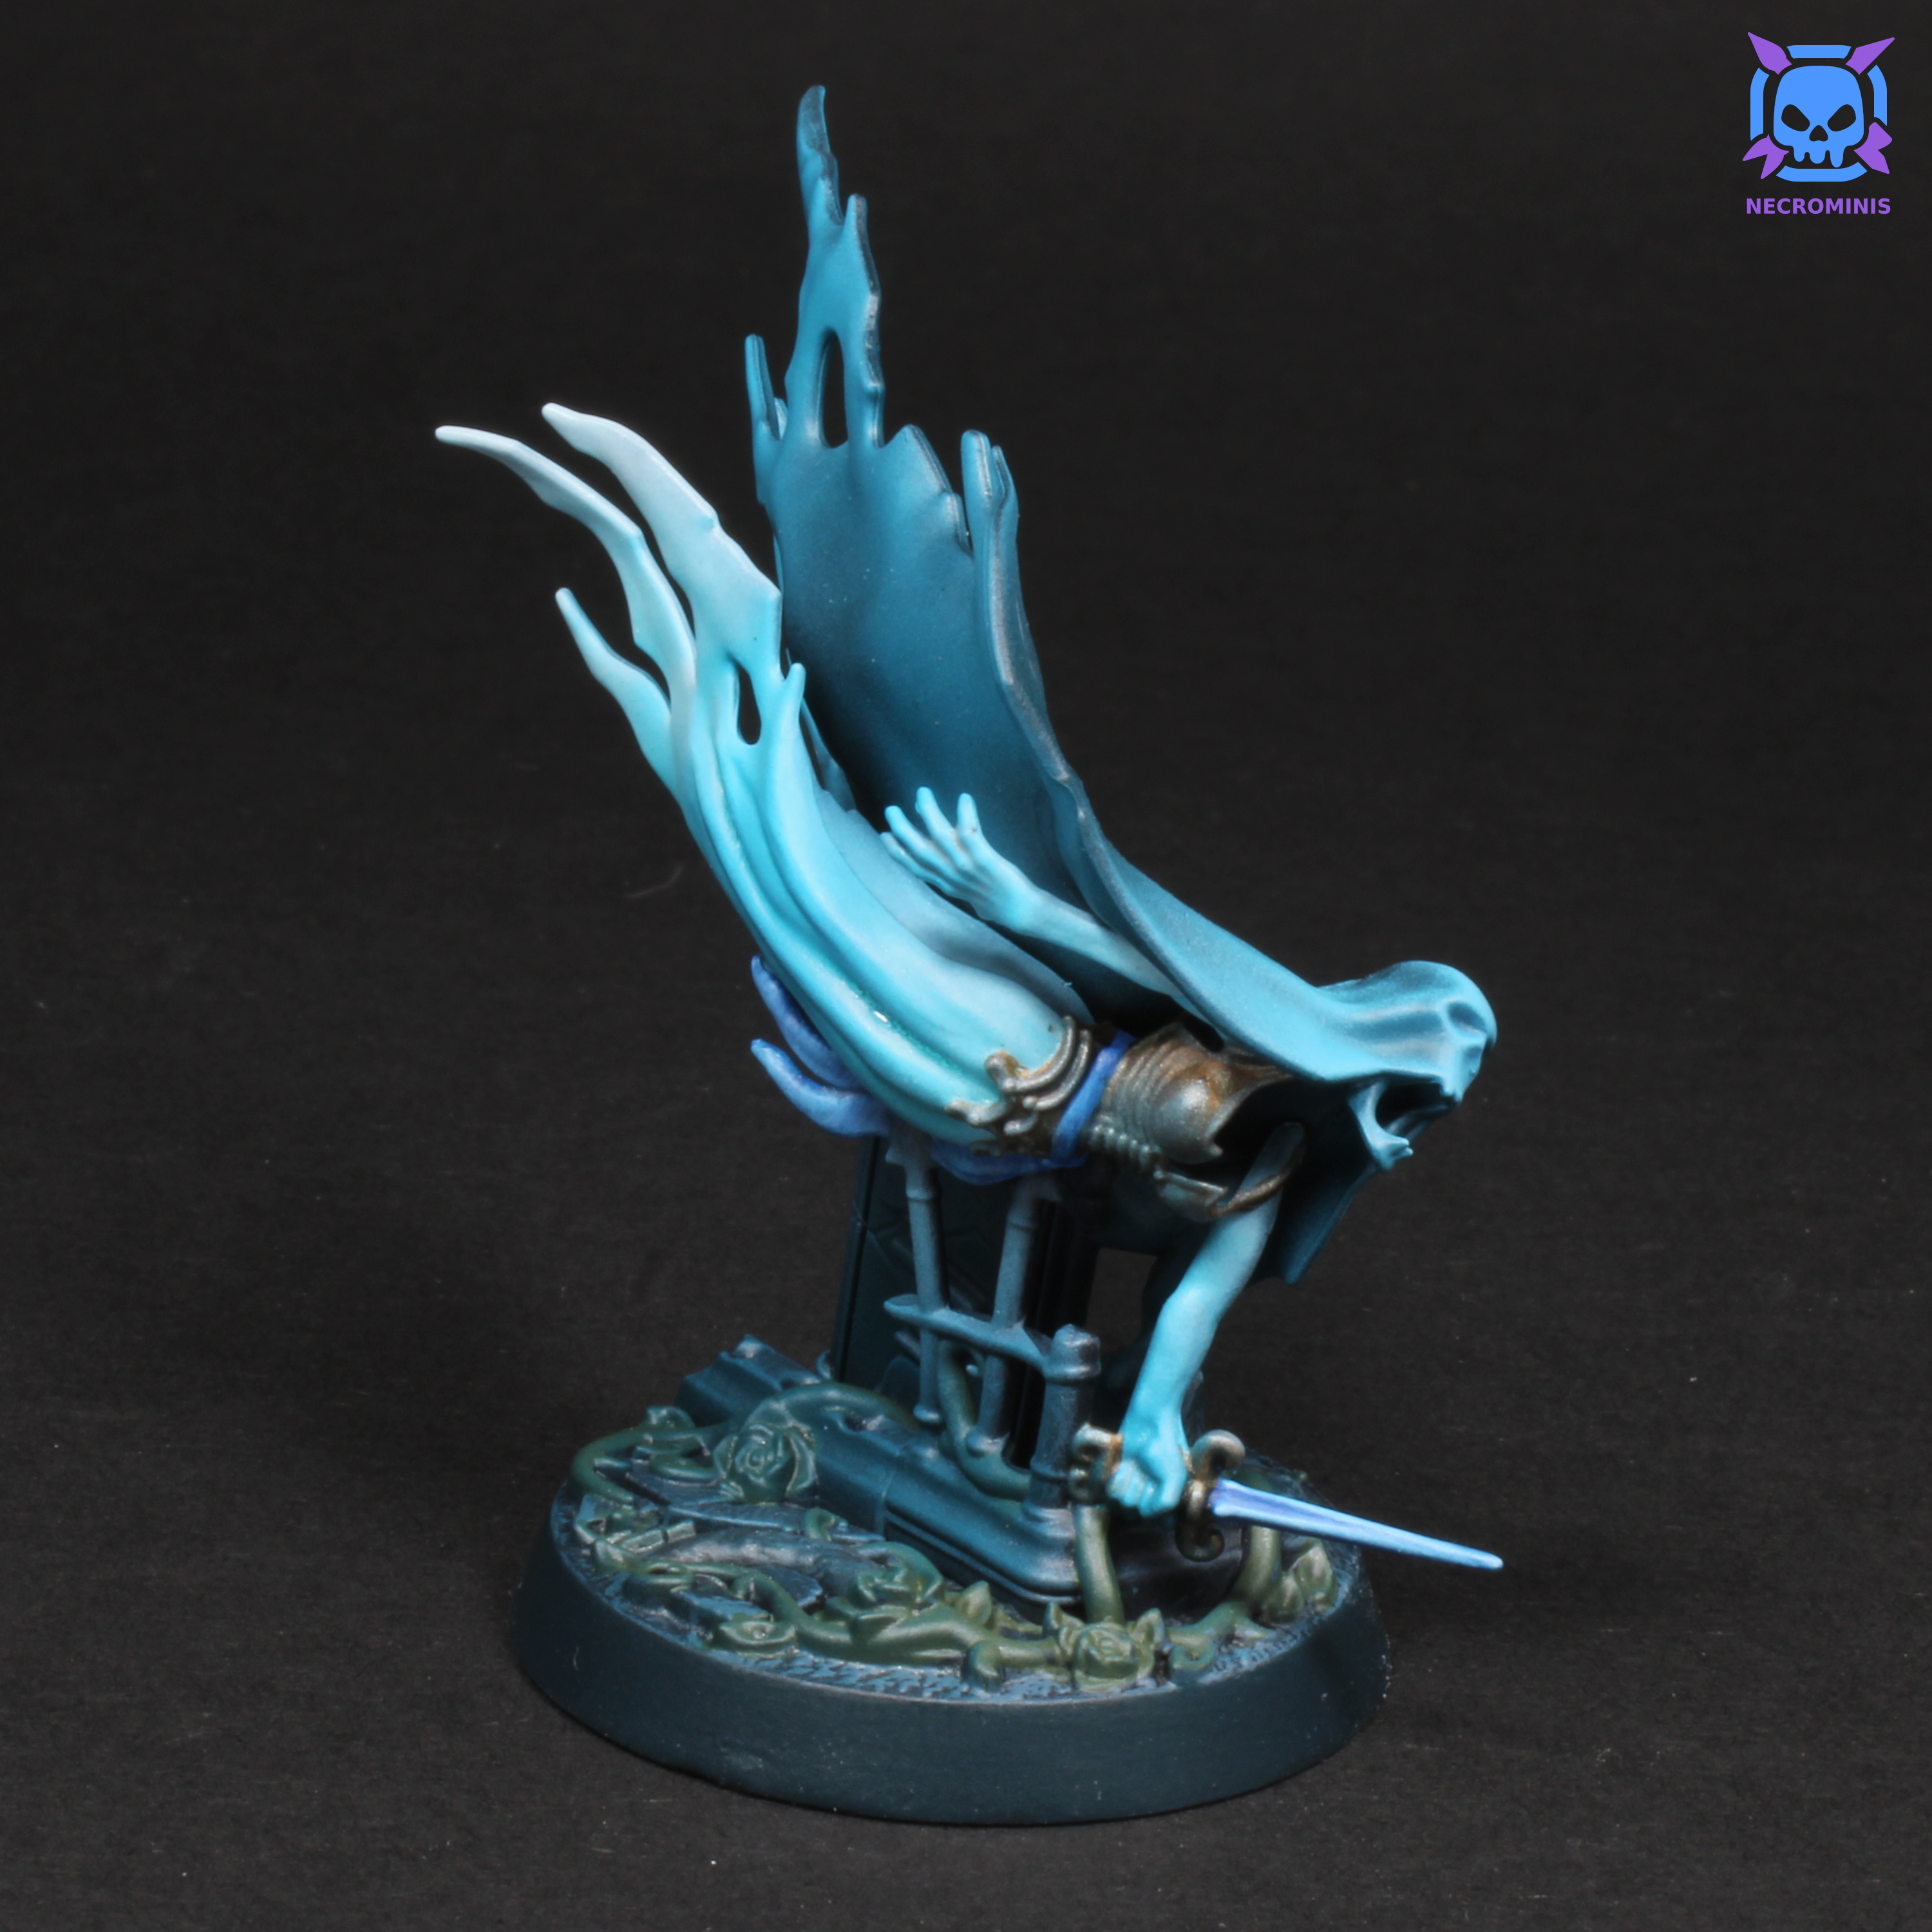
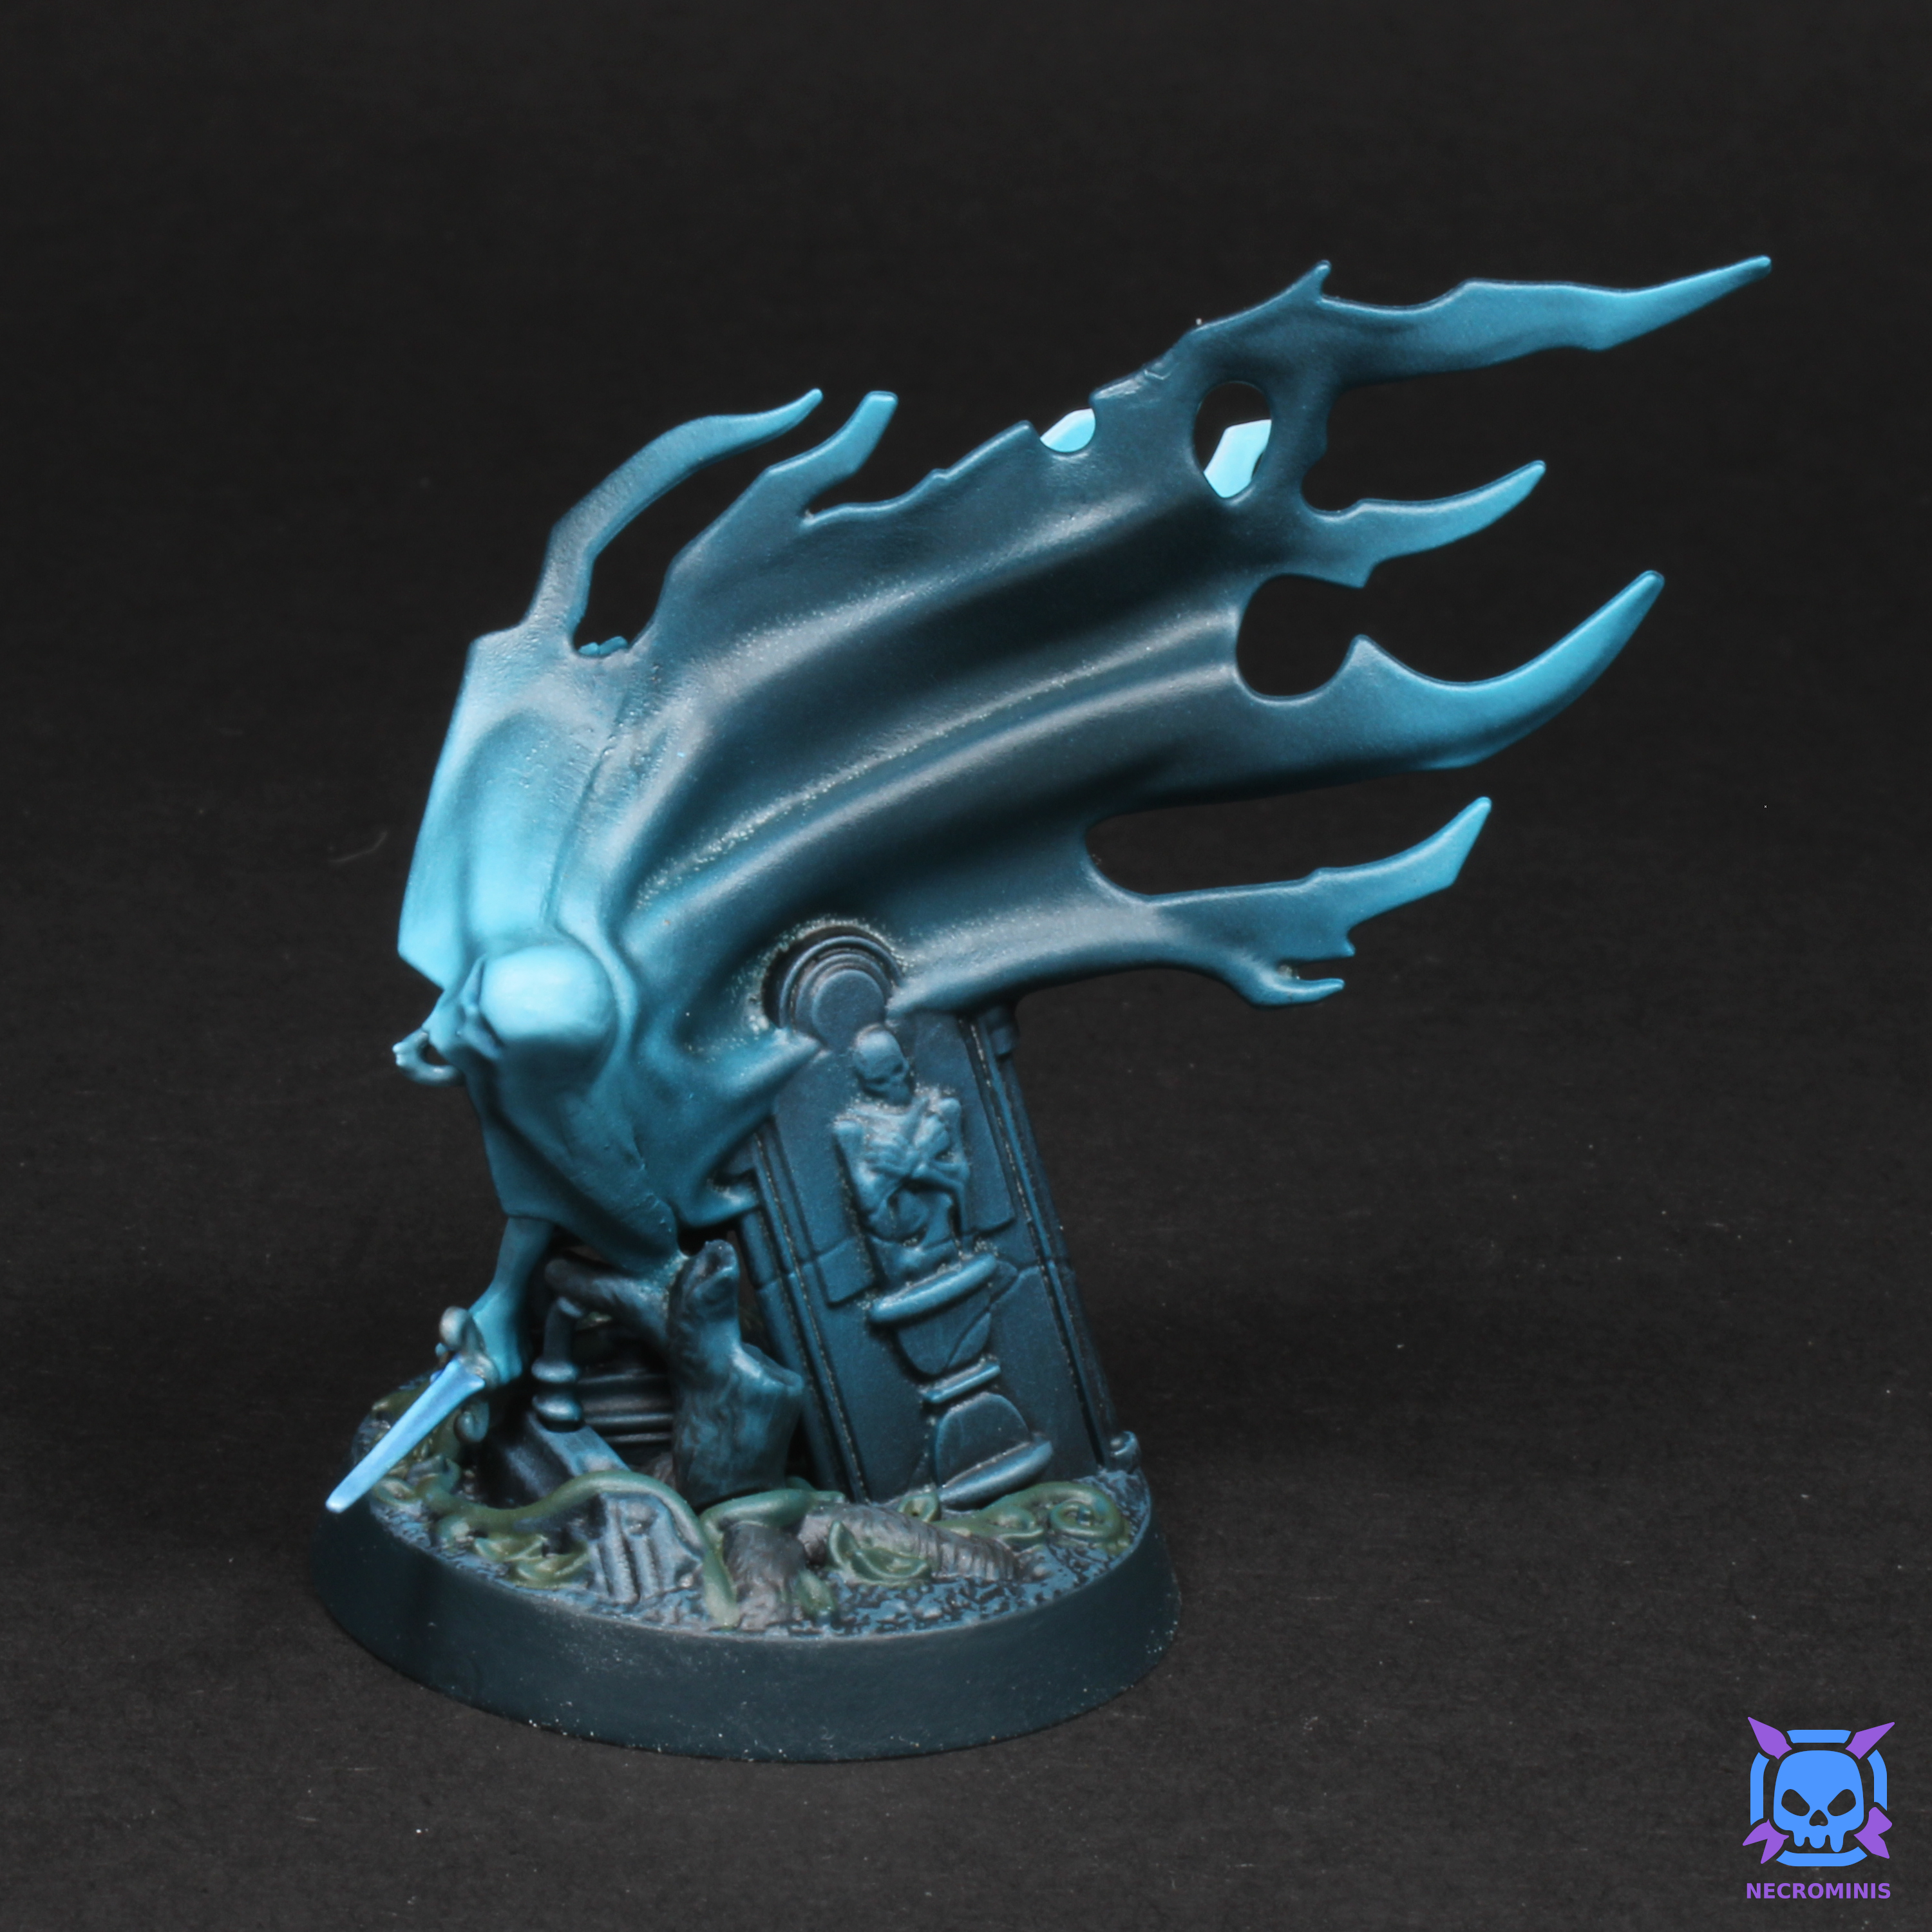
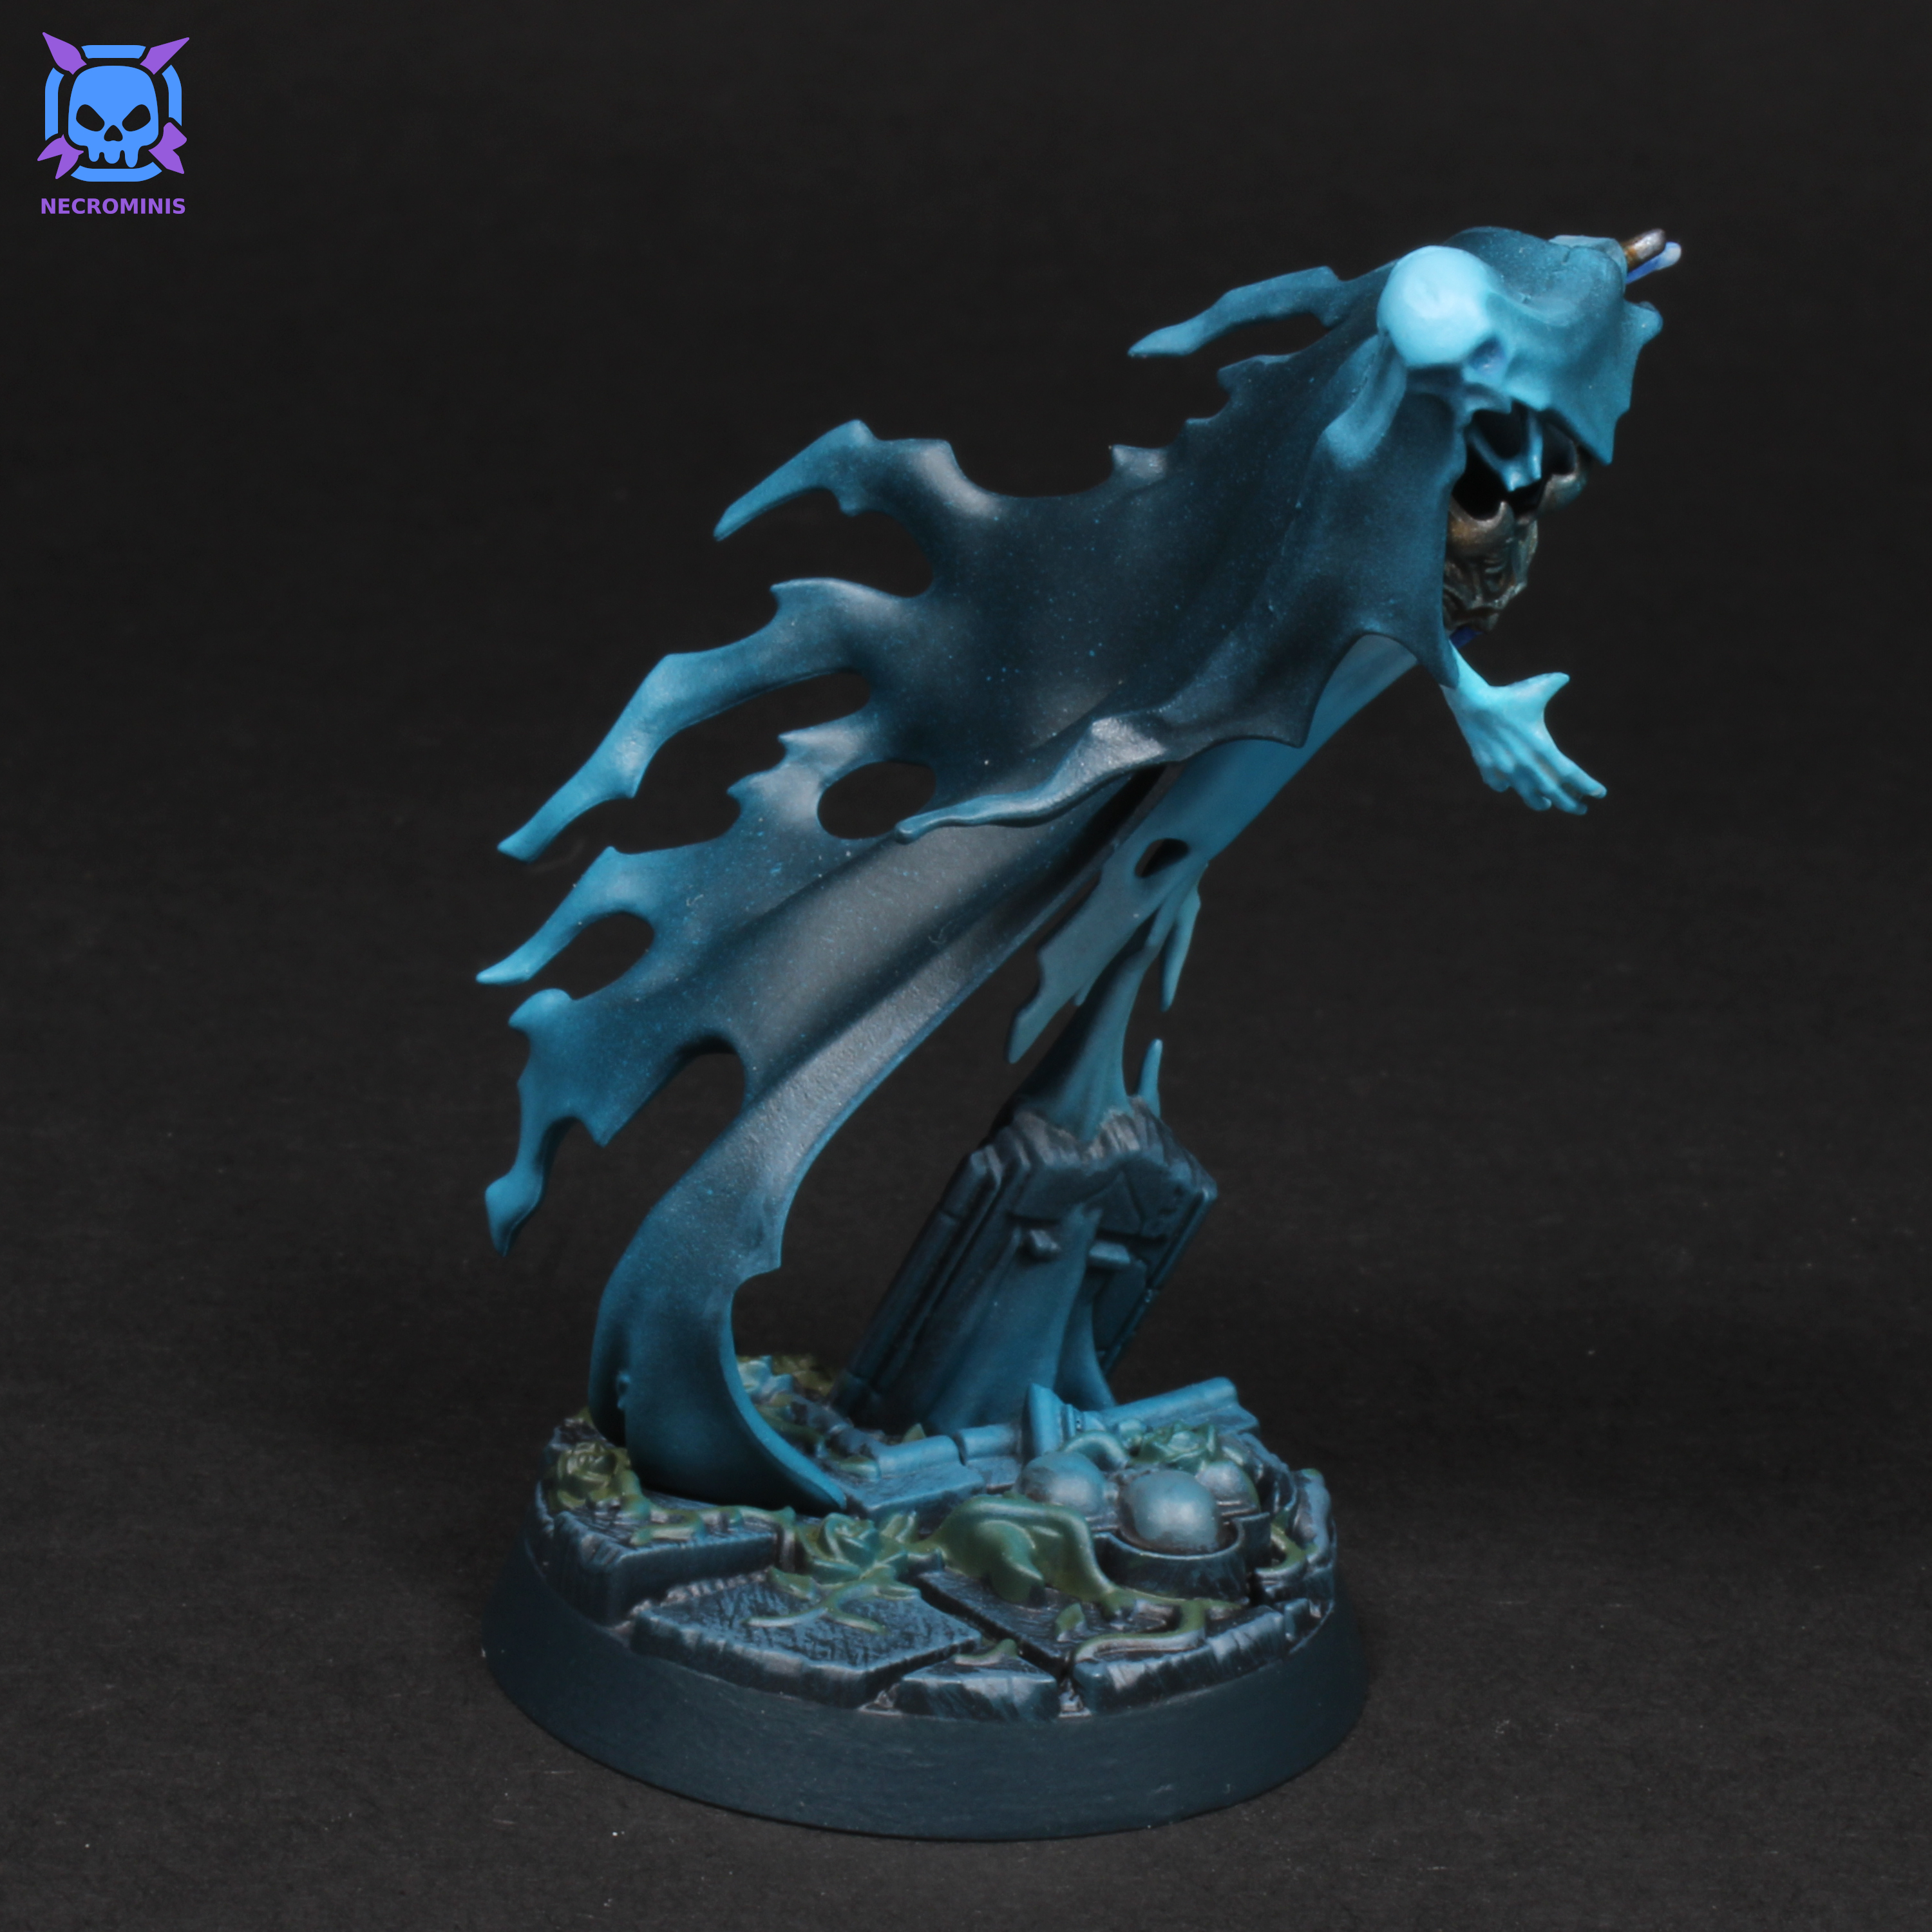
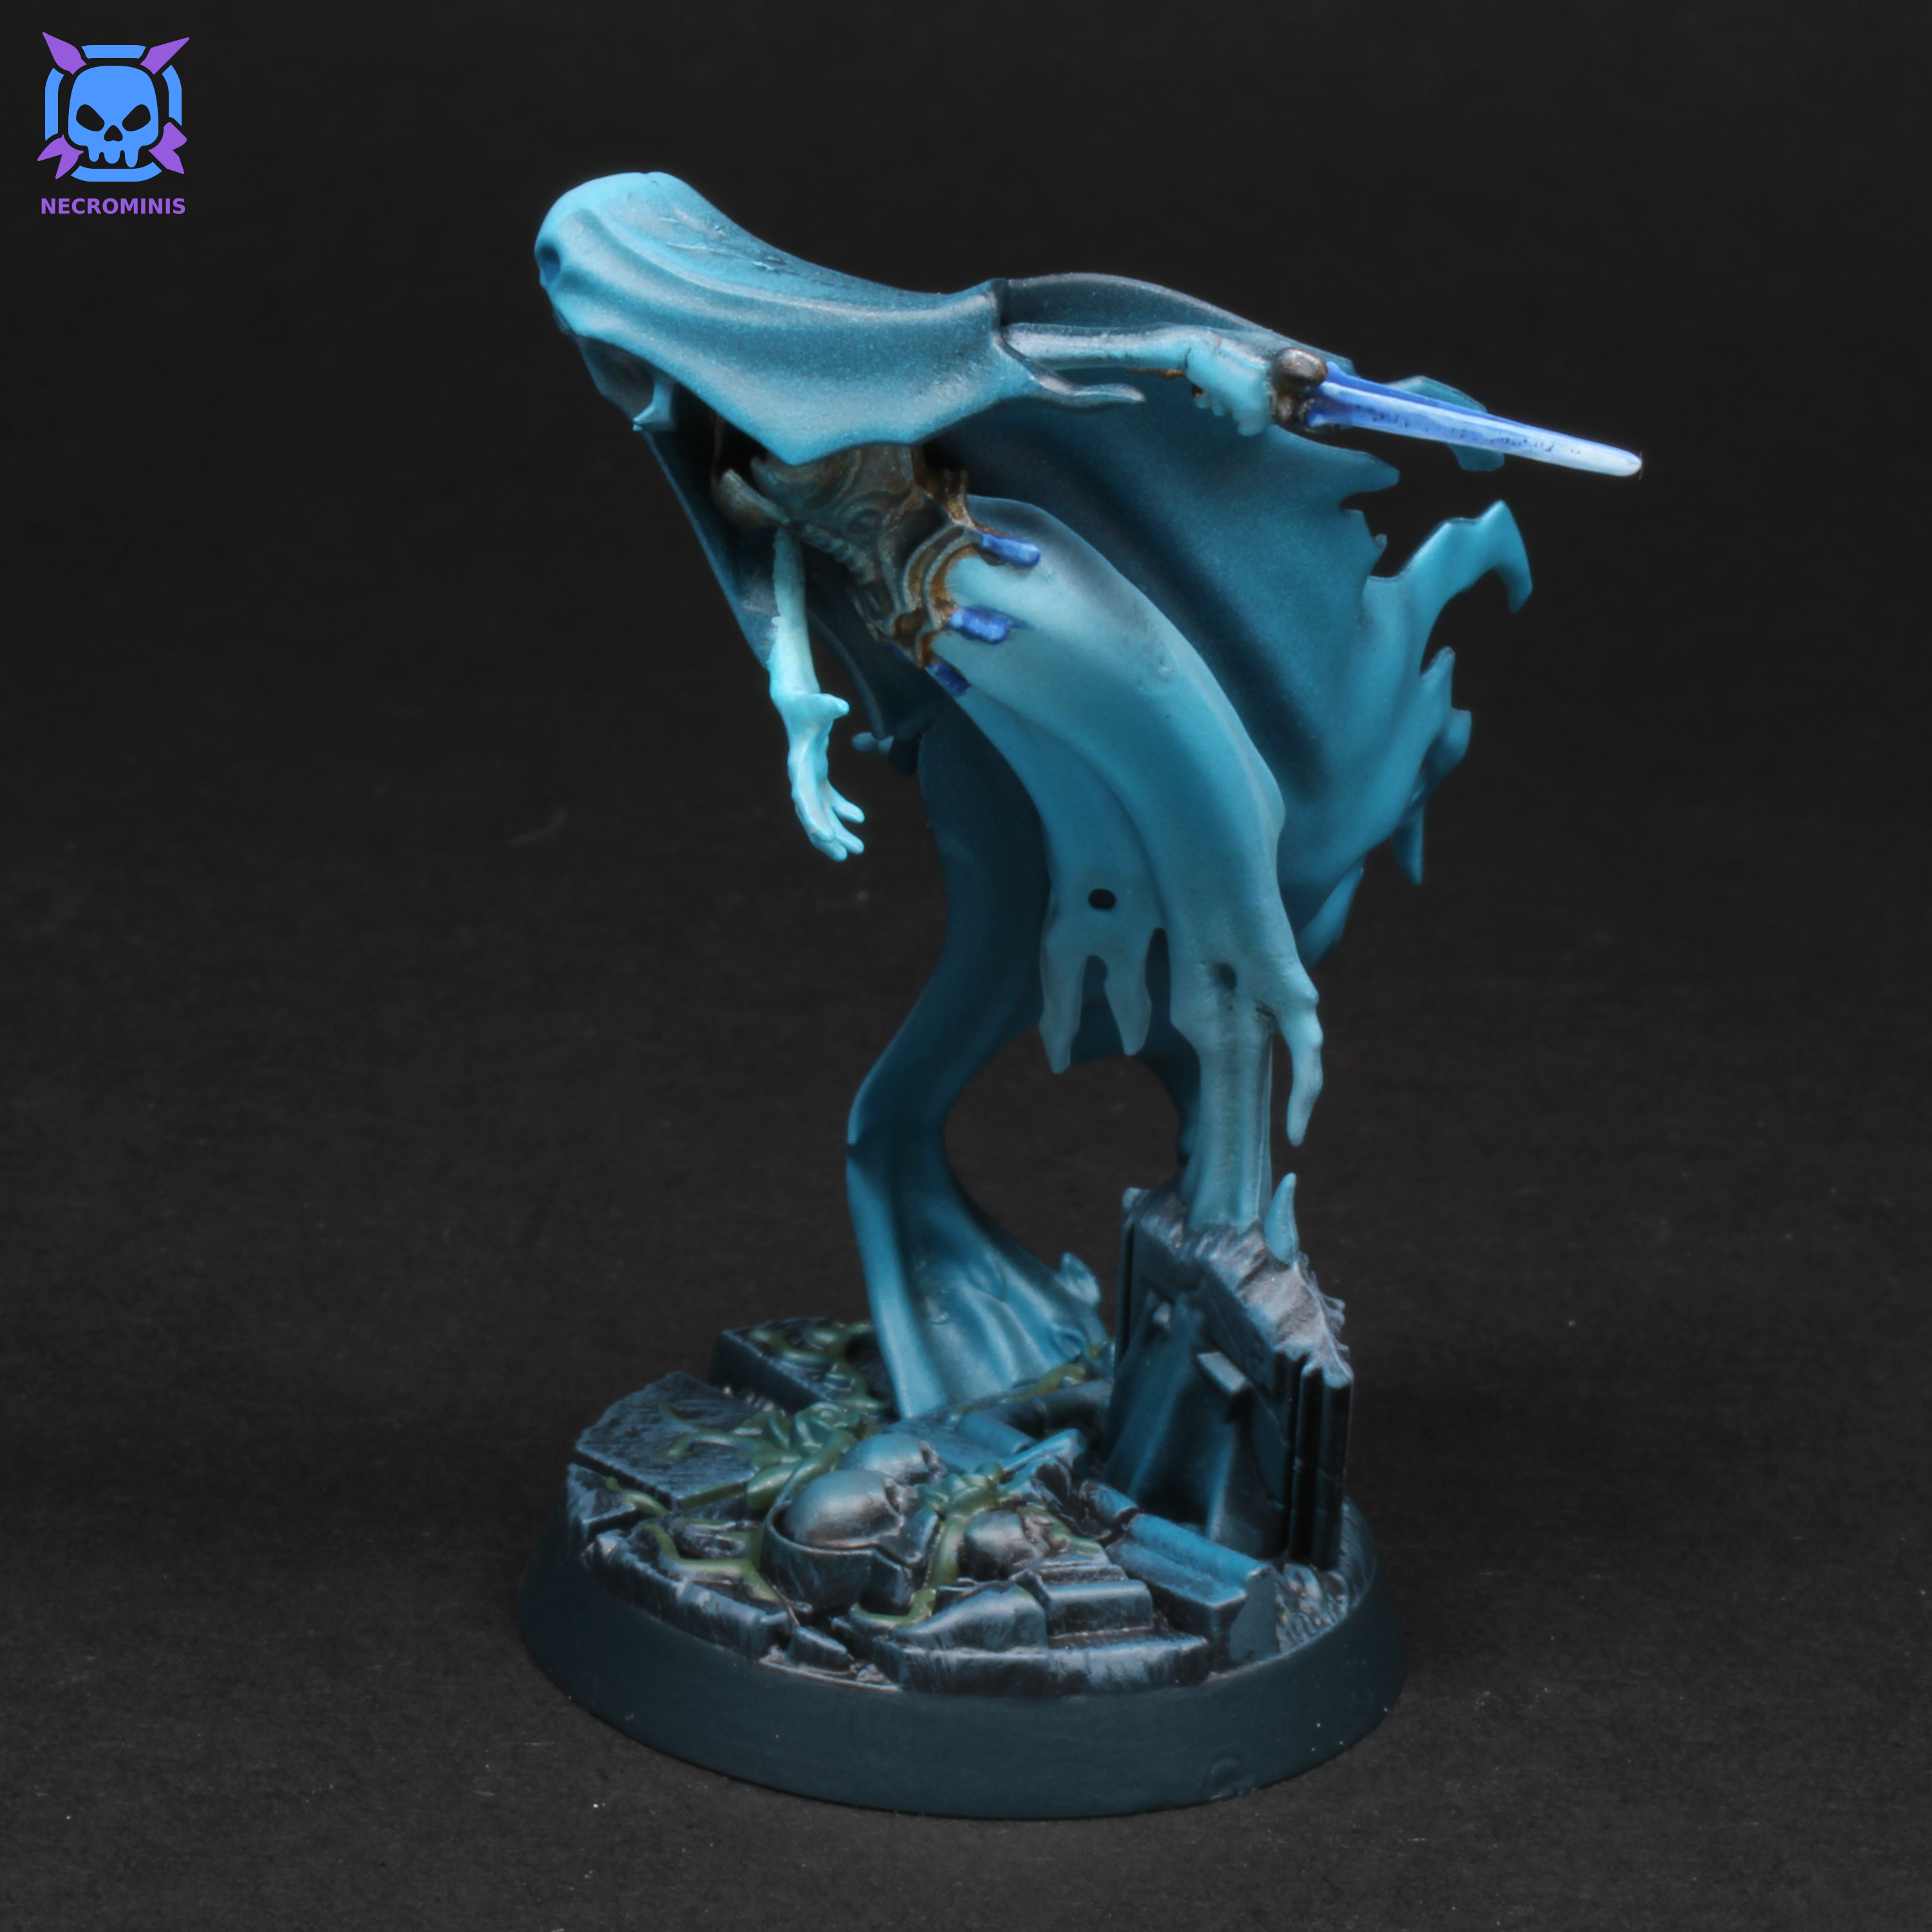
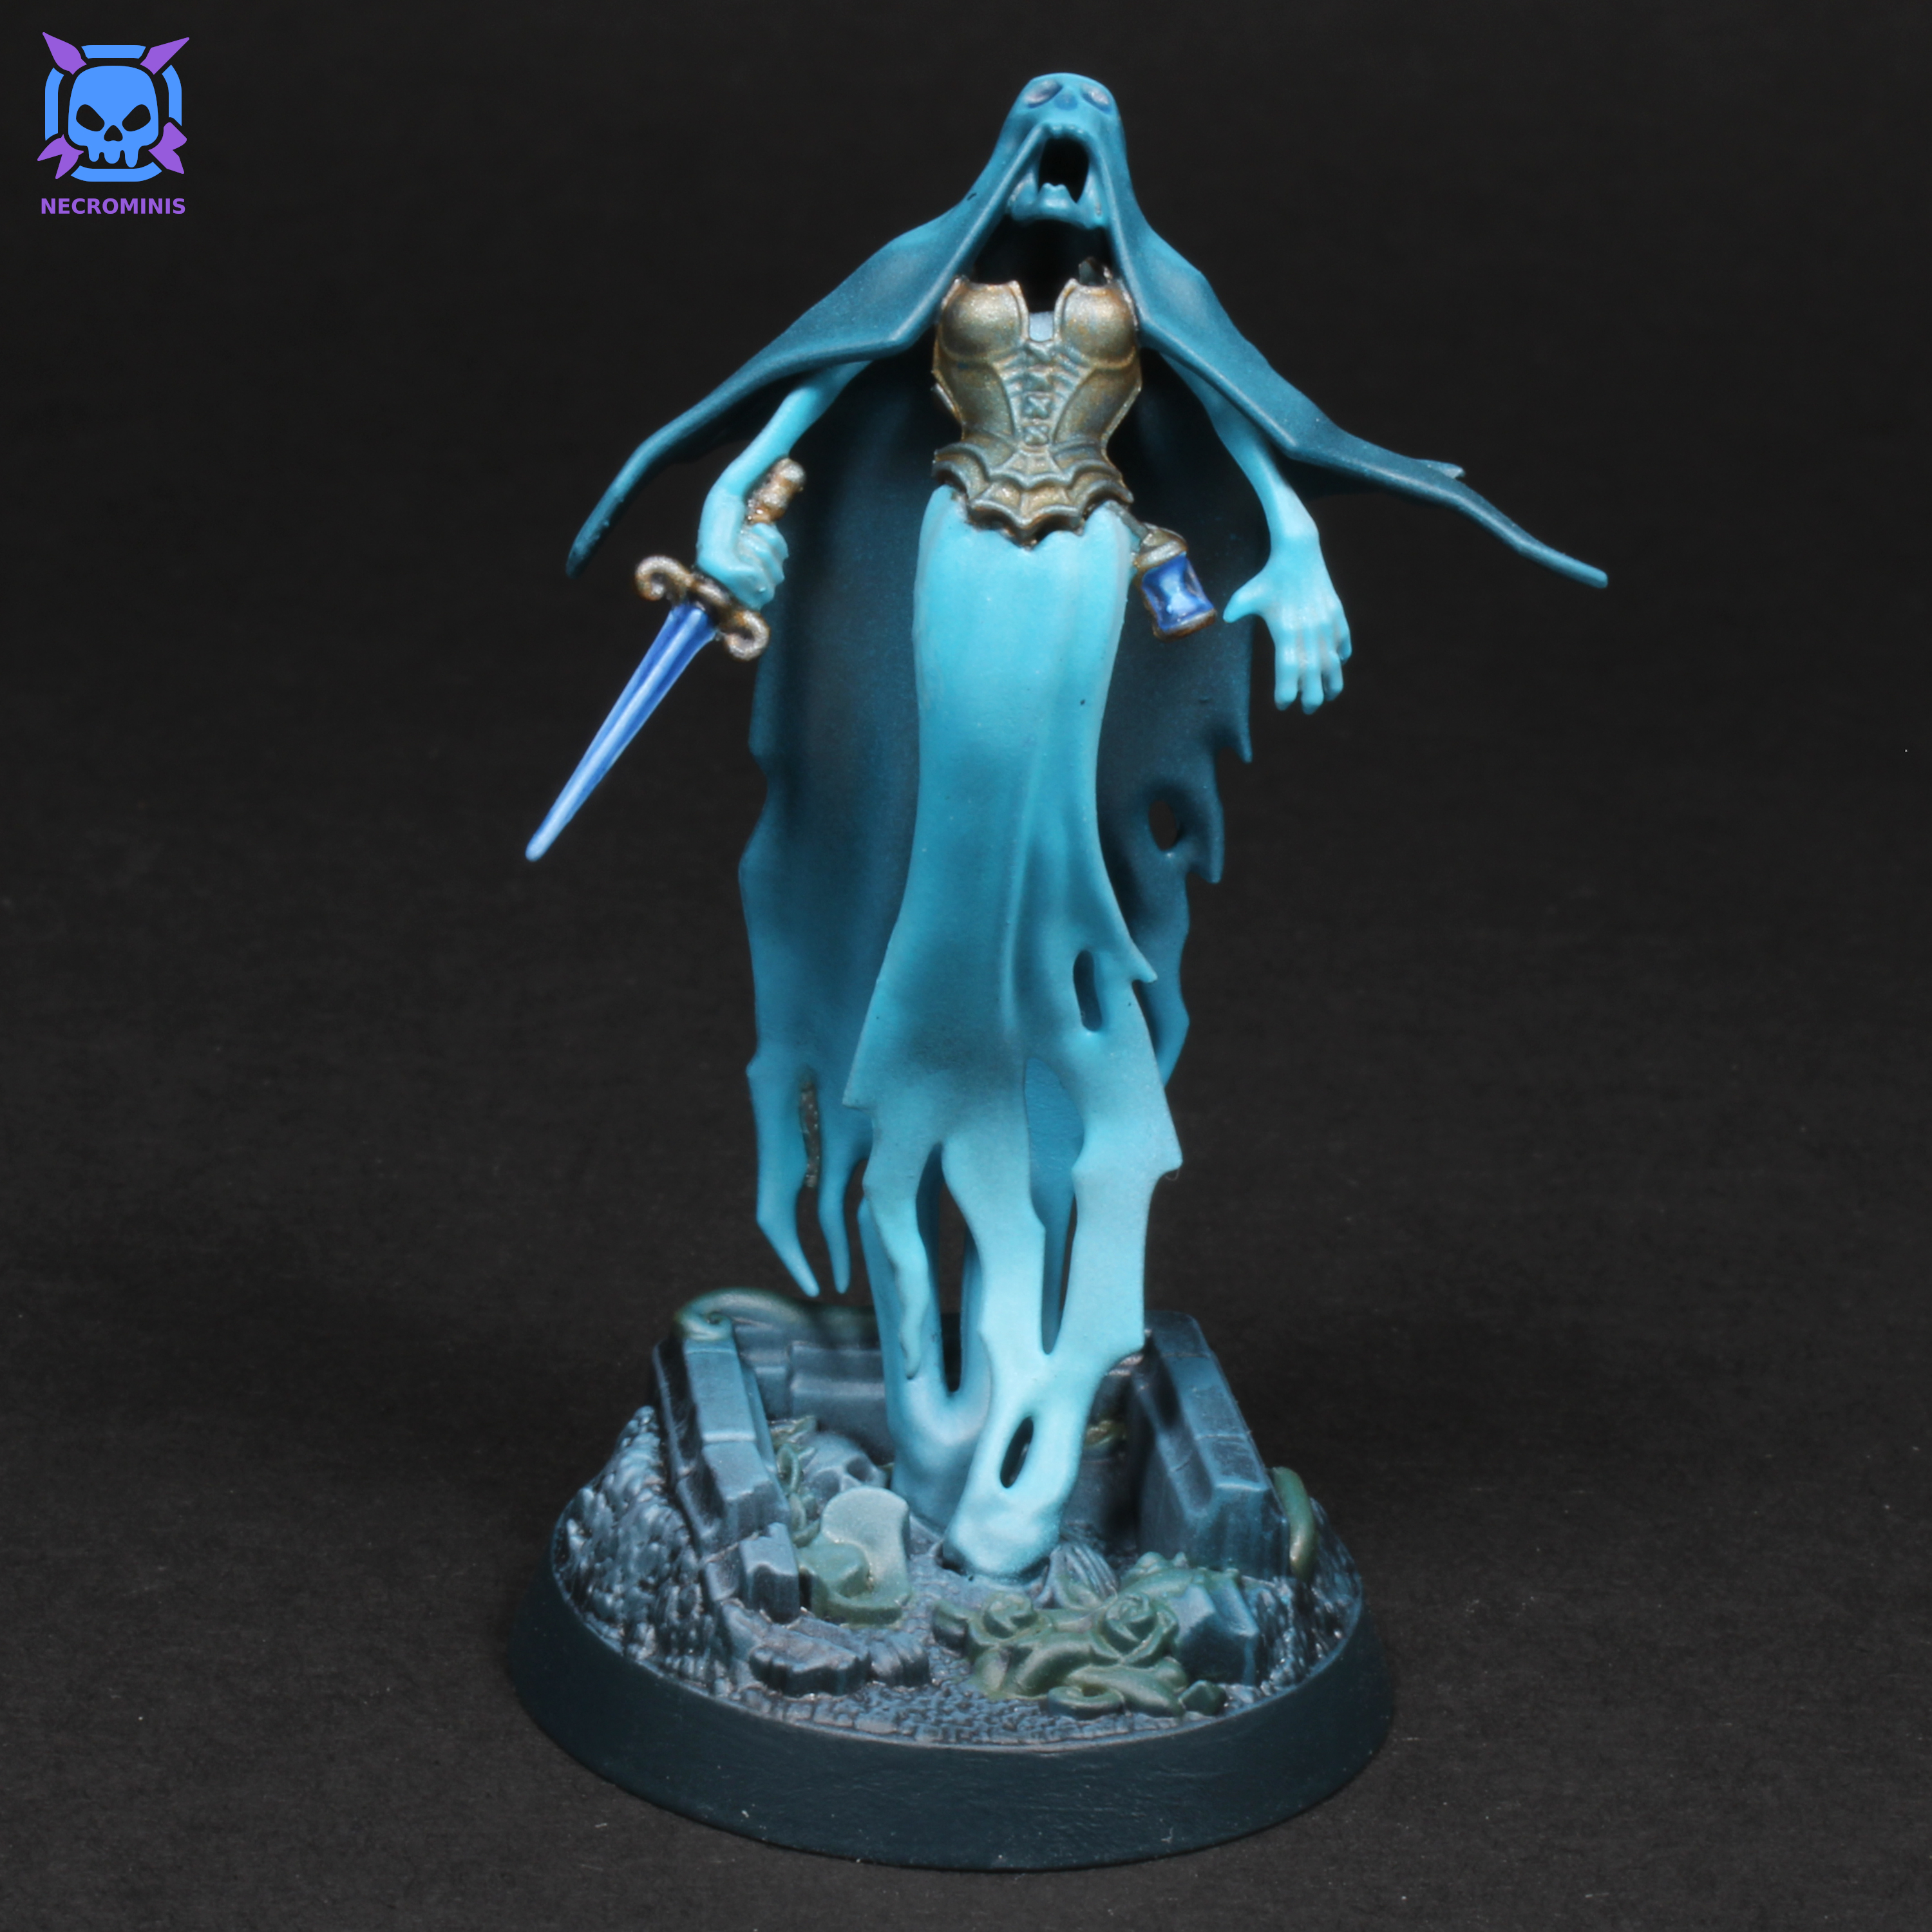
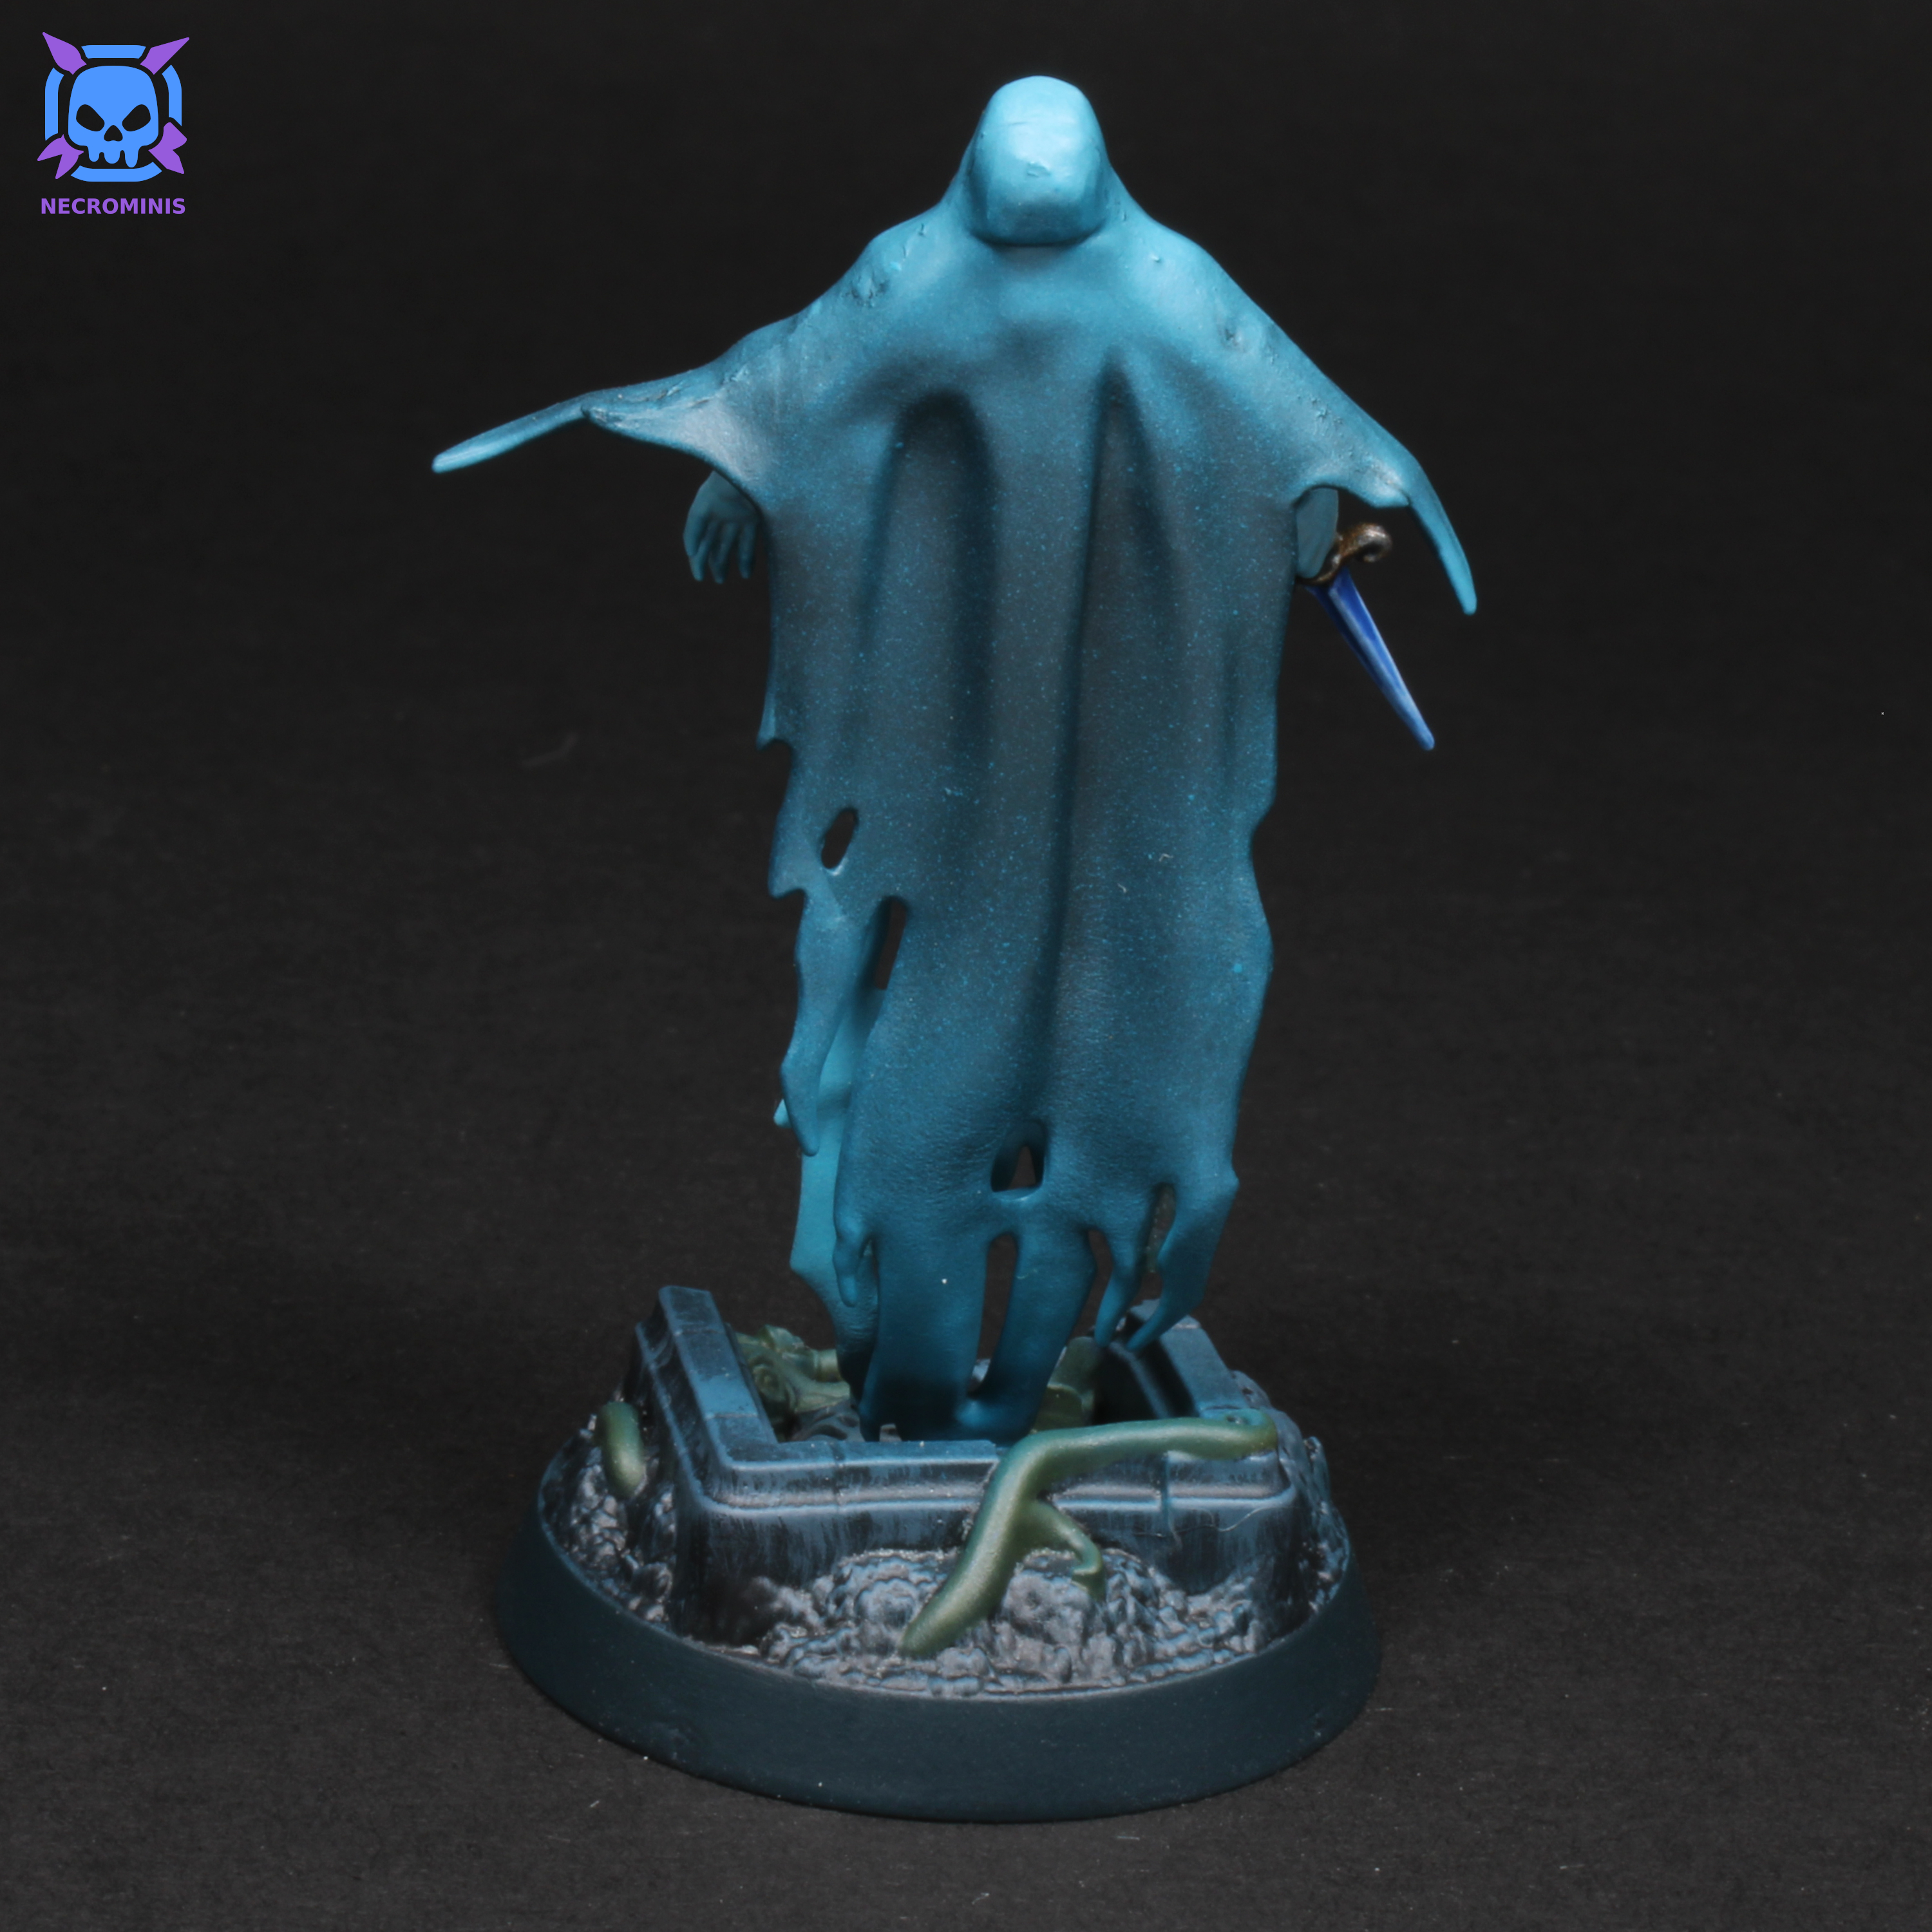
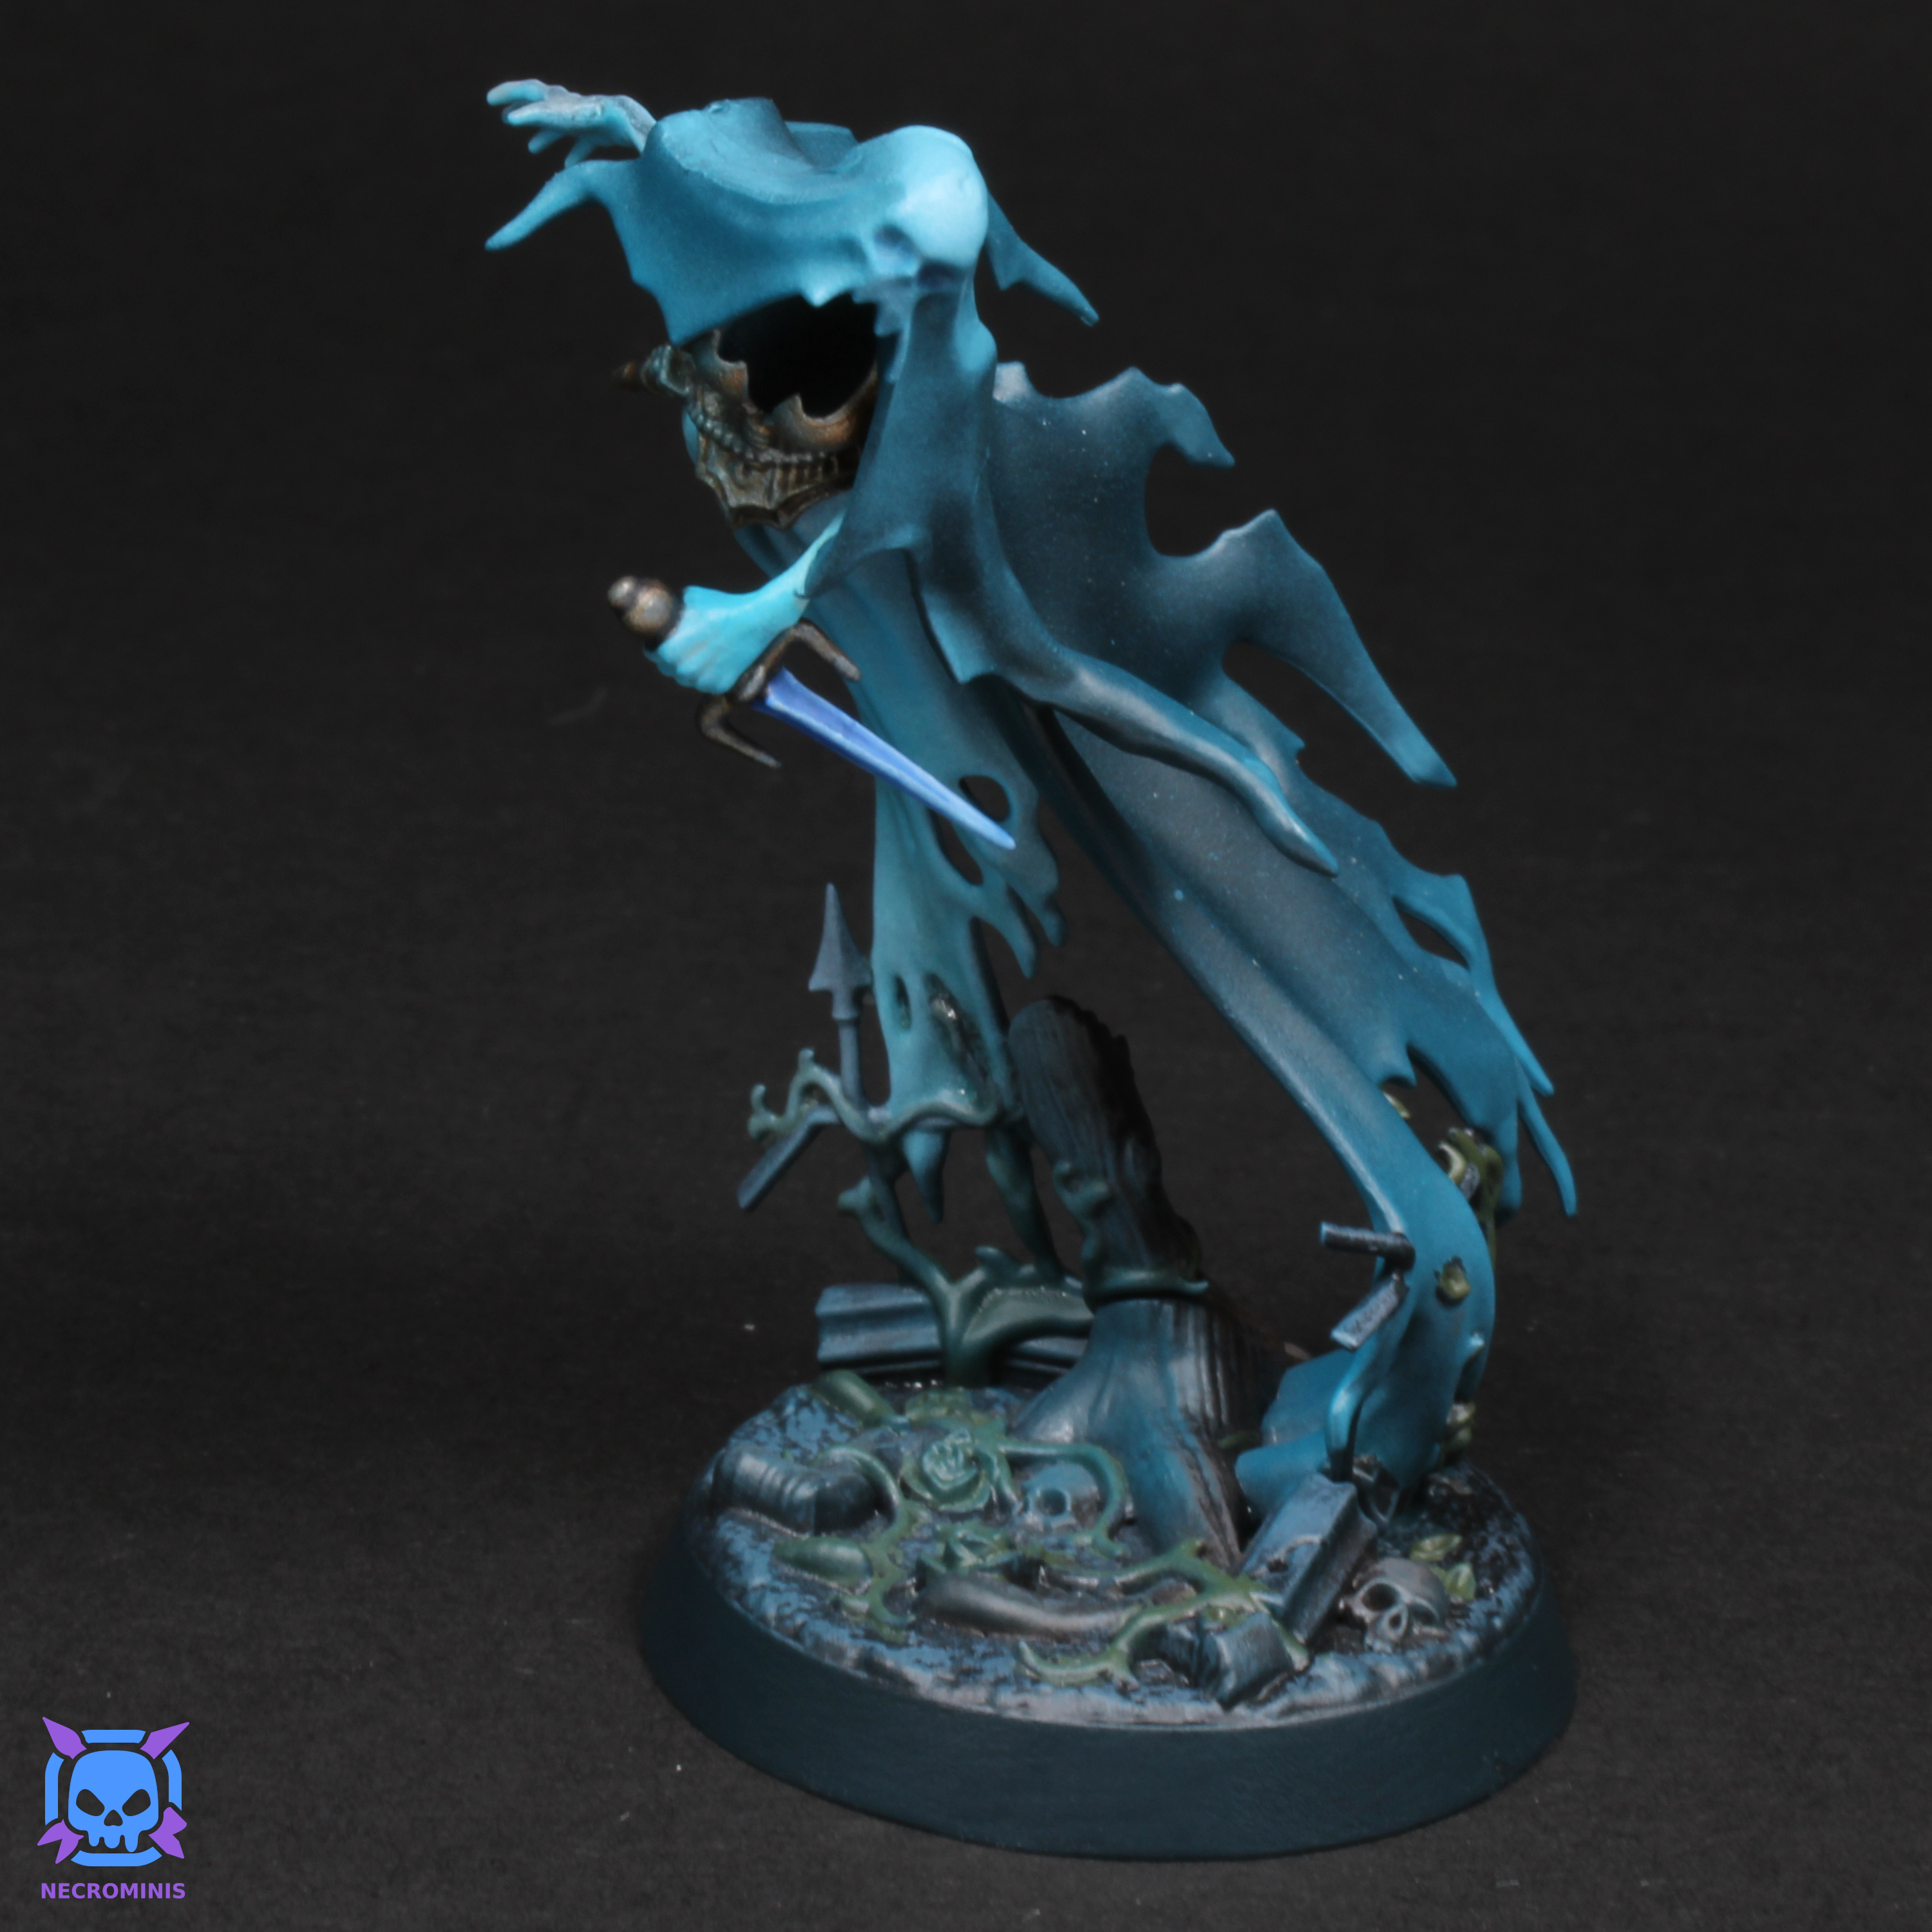
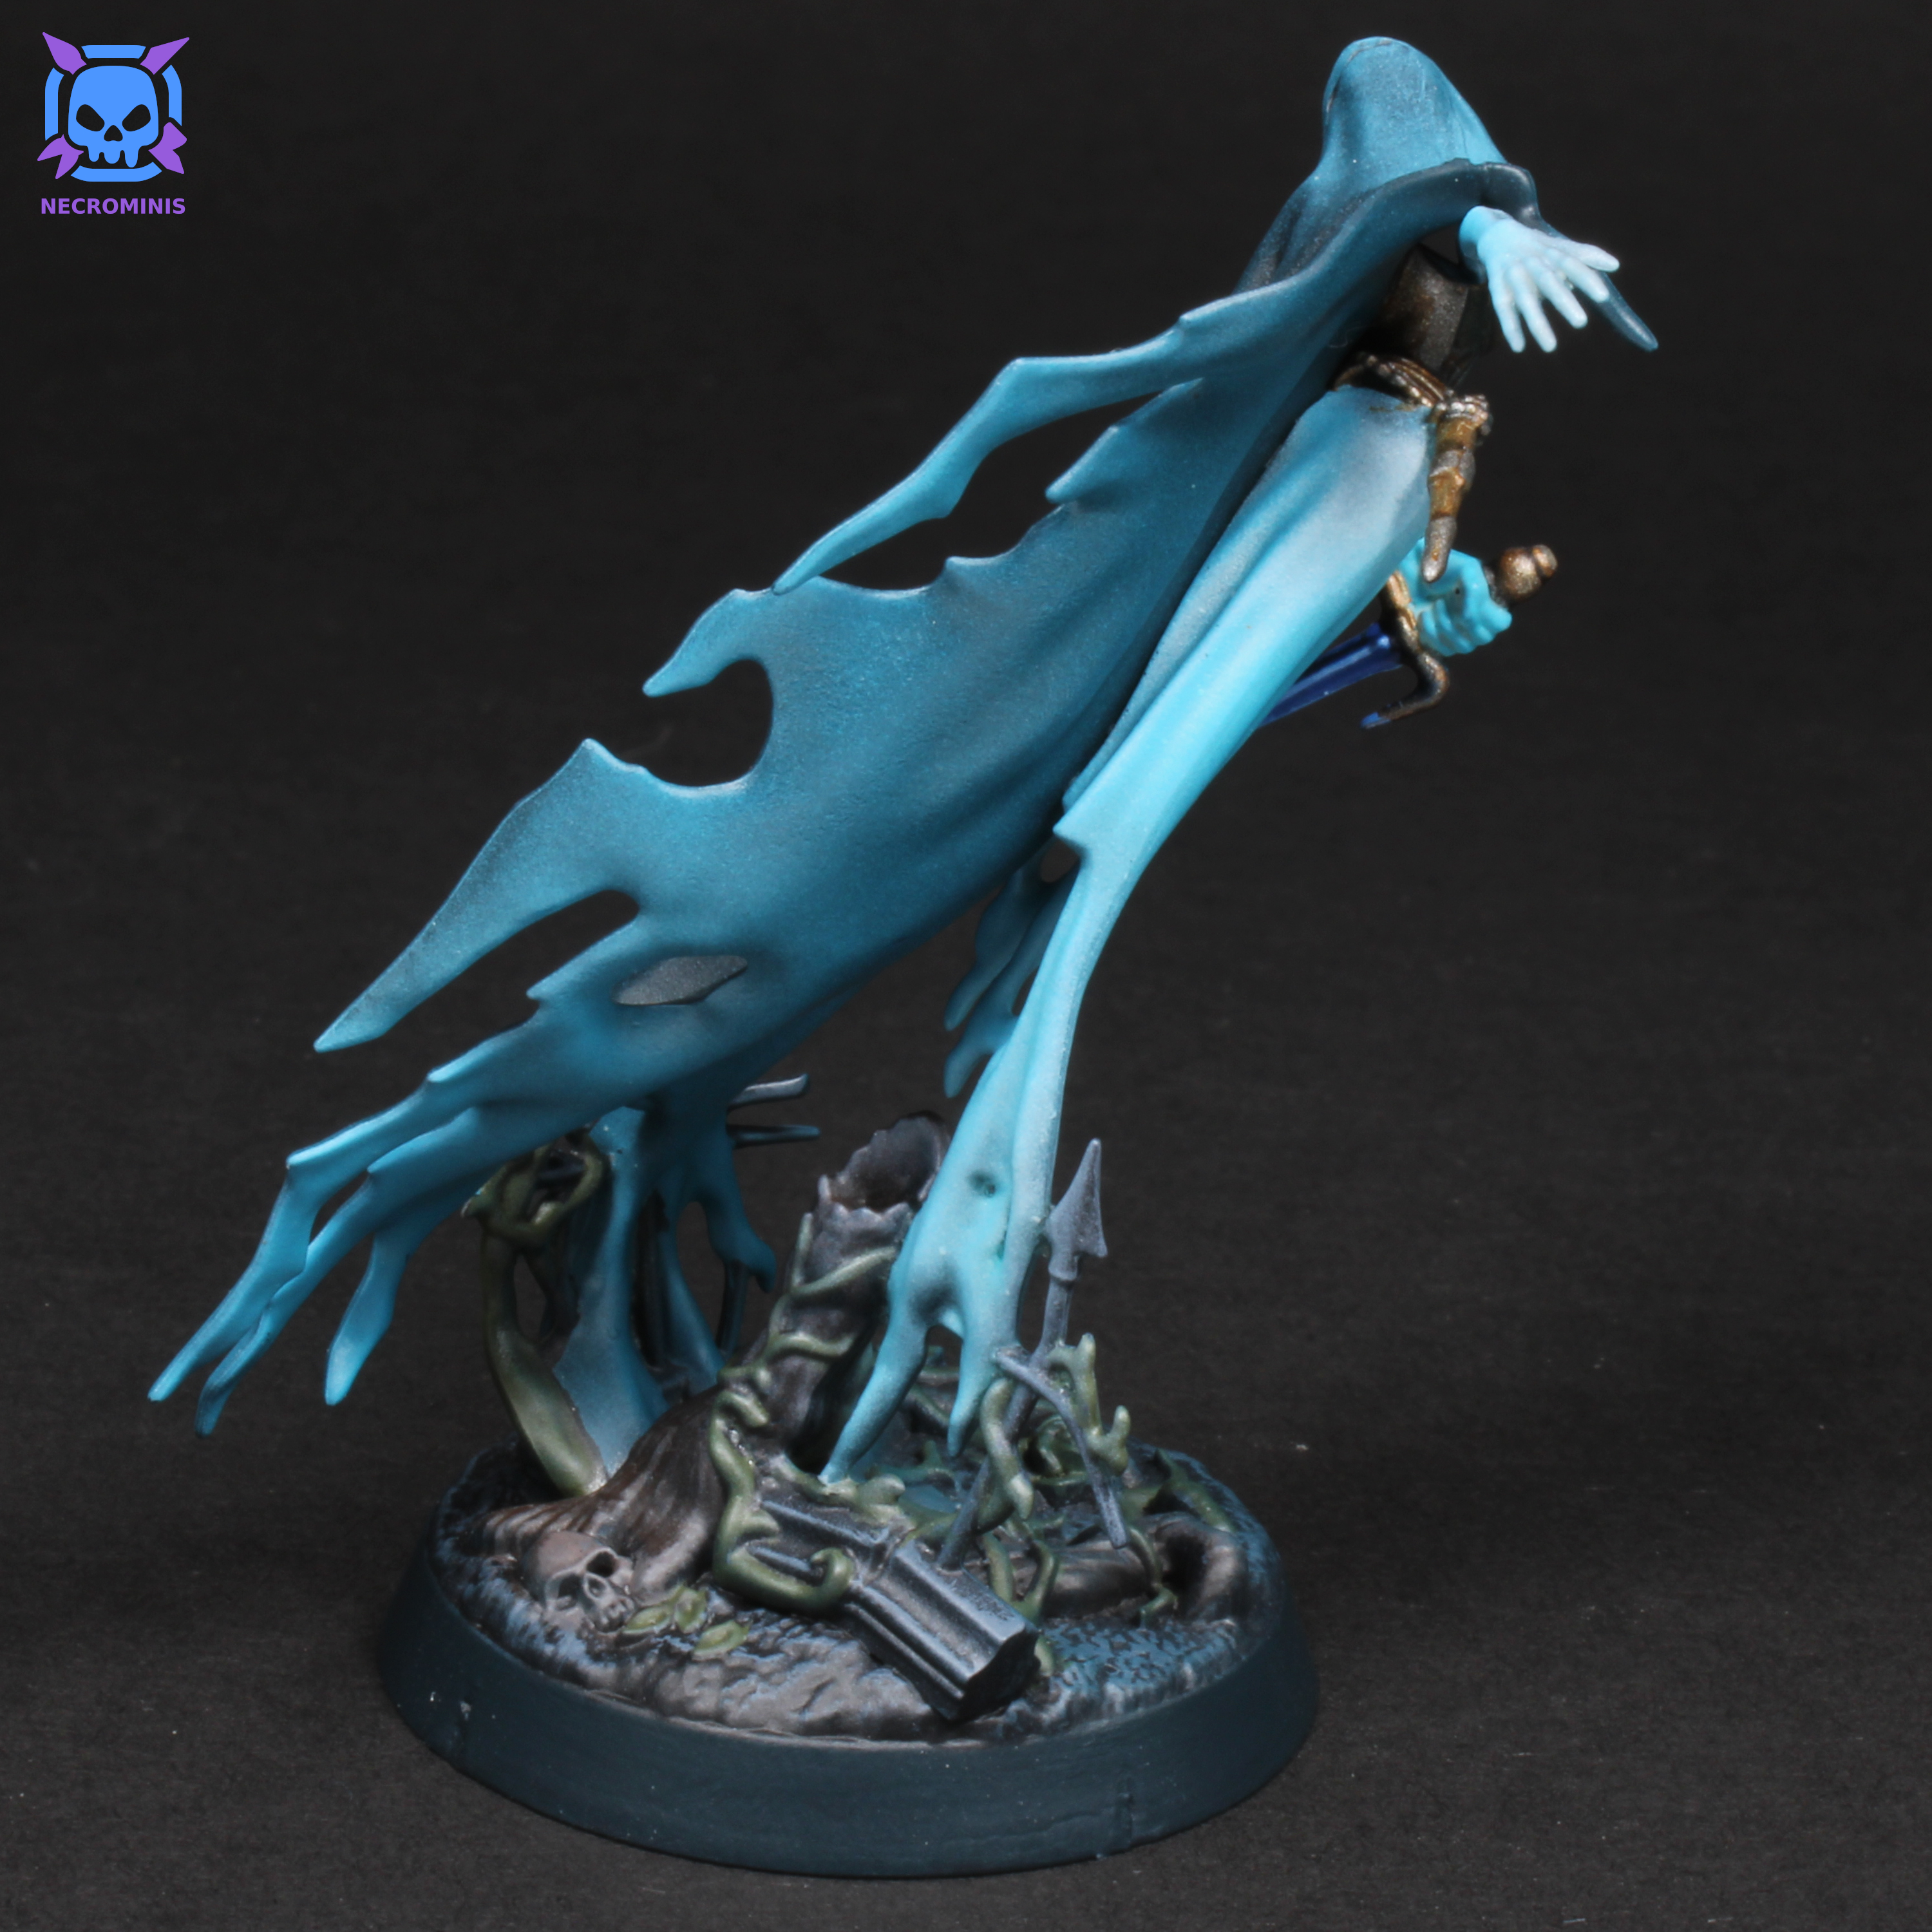
Four Myrmourn Banshees painted with with a darker ghostly scheme.
For these banshees, or ghosts, I wanted a more atmospheric ghostly scheme than the box art. I I also wanted to differentiate between the cloak and the body, even if they’re technically both ghostly.
I started off by priming the minis in black and base coating with a Incubi Darkness as it has a good dark navy/teal color to it. This was done with my air-brush. I then kept the cloak and body parts of the miniatures separate, so I could airbrush them different colors without spilling over.
For the cloaks, I airbrushed up to to Sotek Green toward the edges, with athe brighter Temple Guard Blue just on the very tips. I then did the same from above on the heads, with an extra finish of the lightest teal mixed with white. This was to pronounce the facial features more. For the bodies, I air-brushed them up to white, which took a few layers, and then air-brushed Temple Guard Blue toward the mid-sections and the hands, keeping the "tail", the chest, and the shoulders mostly white.
For the armor, I wanted an old, dirty brass color, but I only had a bright brass which was too bronze or gold. I base coated the armor and the dagger hilts with Brass Scorpion and gave it a quick washWashes are paints diluted with water, which can be "washed" onto a miniature in order for the paint to flow into the recesses, usually for shading purposes. with Nuln Oil to bring the saturation down. I then layeredLayering is the technique of creating a smooth blend between colors by using multiple layers slightly thinned paint and shrinking each layer to create a smooth transition between colors. up to Brass Scorpion-Leadbelcher mix, and did a final edge-highlightEdge highlighting is the technique where you paint the raised edges and corners on a miniature brighter than noraml, in order to help them stand out more, and because edges tend to reflect slightly more light in real life. with Leadbelcher. I also picked out a few parts like the chains to be solely gunmetal to slightly set them apart from the brass.
Next were the blue details. I used a mix of layering and edge-highlighting on the daggers to bring them from Flat Blue to white. I wanted to differentiate this blue from the ghostly blue, so I used a less teal blue for this. I also painted the lantern, the armor tassles, and the ribbon with this blue as well, and used lines with my layering to give it some texture. The daggers began looking too white though, so I finished up by covering them with a blue washWashes are paints diluted with water, which can be "washed" onto a miniature in order for the paint to flow into the recesses, usually for shading purposes. to bring the blue back a bit.
The last thing to do was the base. I wanted to keep the focus on the banshees and I also wanted them to remain the brightest part of the model, so I kept the bases dark and mostly colorless. I base coated them with black, then dry-brushedDry-blending is the technique of using the dry-brushing technique to achieve results similar to wet-blending, in order to create smooth blends between colors on a miniature. them with a dark bluish grey. I used a dark brown to pick out the stumps, roots, and bones, then used a dark olive green on the vines and leaves.
Finally, I air-brushed a light glaze of the teals and a teal-white mix on the base, as well as a slight spray on the darmor. This was to bring the whole miniature together with a coherent color, as well as give the impression that the ghosts are slightly glowing. I then cleaned up the base rims with the Incubi Darkness, varnished them with satin (for protective purposes) then matte (for the final finish), and I was done.
Overall, I really like how these miniatures turned out. I do have a few things I would’ve done differently, though. First of all, I don’t think the darker cloaks look bad by any means, but I do think they should’ve been a little lighter, as they look too separate from the ghosts’ bodies im my opinion. I also think it takes the focus away from the ghosts’ faces which is unfortunate. Another issue I have is that I tried using sprue-gooSprue-goo is a sumstance made from melting bits of plastic sprues into plastic cement. Due to its thickness, it can be used in place of plastic cement to fill in gaps when gluing pieces together. for the first time, since there were a few gaps when gluing the pieces together, but it just created more of a mess to fix which is still noticeable around the heads. I also think I over did it with the blue spraying on the bases. They look a little too dark with almost no contrast, and the dry-brushing and colors are hidden under the blue. This is especially noticeable when they’re not under bright lights, as the bases essentially look like they’re a solid color. I may have to dry-brush the bases again, if I get the chance. Overall, though, I do think these miniatures look good and they would make great pieces for an undead army or as ghosts in a Dungeons & Dragons campaign.
